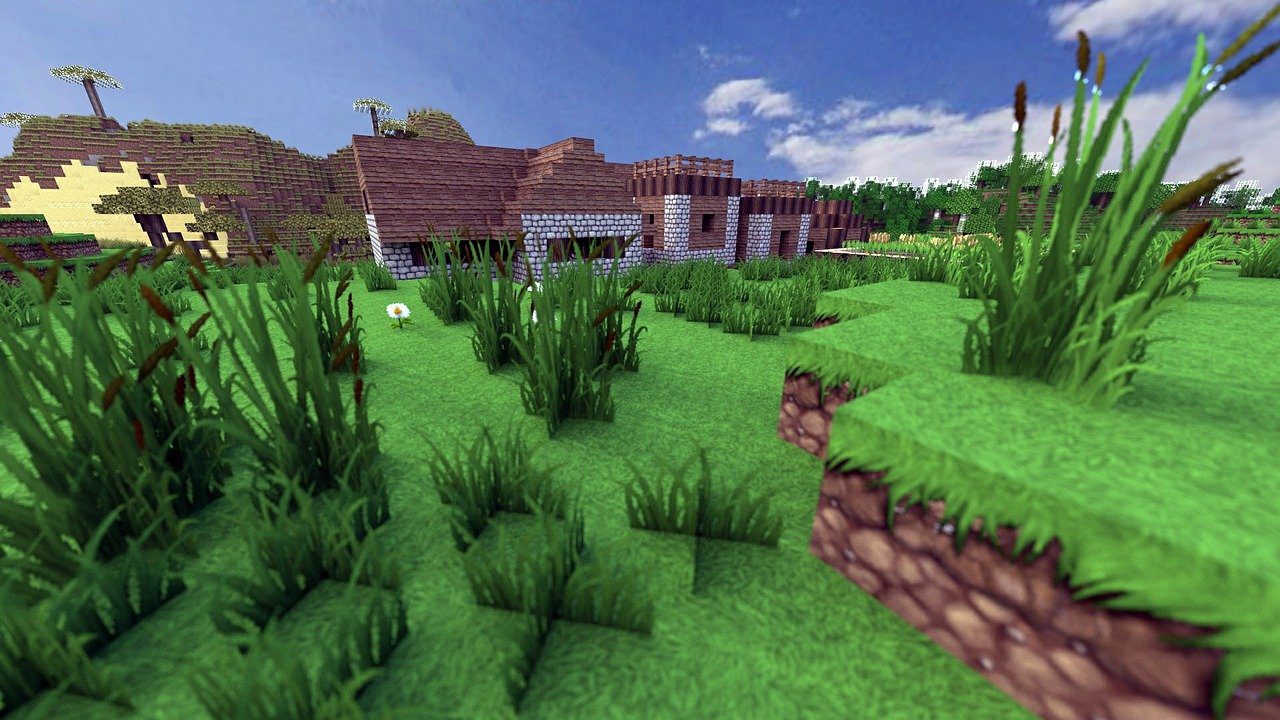
Build Your Own Minecraft and Play!
Minecraft is the leading sandbox game since its initial release in 2009. As a sandbox game, the game has no rules – it enables players to build a virtual world based on their creativity. Additionally, players can also activate survival mode and fight villains in the game.
Another attraction of Minecraft is the ability to play with multiple players. Players can connect using a home network or an online server to create a bigger landscape and join forces to play survival mode.
Besides joining a server, you can also build Minecraft servers of your own and grow communities of Minecraft enthusiasts. Doing so allows you to control various game elements, from user access to player roles.
If the thought of running a Minecraft server intrigues you – keep reading this article. We will explain the steps for creating your own Java Edition server along with the benefits you can get from it.
What is a Minecraft Server?
A Minecraft server is a software setup that allows multiple people to build and control the same virtual world. Every server has a host that runs and manages the environment, from giving restrictions to granting access for specific users.
The more variations the server offers, the more popular it will be. Some factors that affect a server’s popularity include custom features and game modes. Additionally, stable connection and around-the-clock staff also play important roles in ensuring server availability.
There are multiple ways of getting a Minecraft server, such as renting a space from a hosting provider or building a server of your own.
By renting a server through a third party, you won’t have to handle the technical hassle, like managing disk space or configuring computer processors. The price of a Minecraft server hosting also starts from as low as $5/month.
However, if you want to have more control, building your own server is the best way to go. If you’re wondering about the benefits of building your server, keep reading.
Benefits of Building Your Own Minecraft Server
Building and running a Minecraft server requires advanced technical knowledge. Moreover, you will also need to consider various system requirements, such as Intel Core-Based CPUs or AMD Athlon XP 1600+ and above, a minimum of 1GB of RAM, and a generous amount of bandwidth.
If you have all the required knowledge and technology, you can create your own Minecraft server. Below are some benefits of doing so:
- Make your own rules – owning a server automatically makes you the sole administrator, allowing you to enforce your own rules and create an ideal gaming experience for your community.
- Customize your virtual world – install various mods to customize your Minecraft world and create unique gameplay, like Brawl server that offers Call of Duty style or Purple Prison that takes on a prison-like environment.
- Have better privacy and security – being a server administrator allows you to assign roles, specify limitations, or restrict access to players and staff. Doing so helps prevent hackers and malicious behaviors.
- Generate income – there are several monetization methods you can apply when running a Minecraft server. This includes selling in-game items, charging membership fees, and asking for donations.
How to Build Your Minecraft Server
Although it sounds like a hassle, running a server is not as complicated as you think. Starting a Minecraft server can be as simple as running your personal computer with adequate hardware and software.
With that in mind, we have listed the steps to starting your own Minecraft Java Edition server. Note that in this tutorial, we use Windows as the operating system.
1. Download the Latest Version of Java
Minecraft is a Java-based game, and it needs the latest version of Java to run properly. Hence, the first step is to ensure you have the newest version installed on your computer.
Simply go to the official Java website and see what the most recent installation is available to download. If the one you have is outdated, click on the Agree and Start Free Download button.

Clicking the button will start the download process. Wait for it to complete, and open the download folder on your computer.

Double click on the application to begin the installation process. If you have an older version installed, you might be prompted to uninstall it. Do as instructed and wait for the process to complete.

Now that you have the latest version of Java installed, the next step is to download the Minecraft server files.
2. Download Server.jar File
Keep in mind that it is crucial to download Minecraft server files from the official download page. As soon as you access the website, you will see the latest .jar file attached on the page – simply click to download.

However, if you want to download older releases of the server files, you can find them here. Once the download is complete, your computer might bring up a warning message.

Not to worry – as long as the source is trusted, you can go ahead and click on the Keep button.
The next step is to create a designated folder to run the .jar file. For example, we’re going to name the folder as Server.


This file refers to the End User License Agreement, and it serves as a license and permission for you to run your Minecraft server. Simply right-click on the file and select Open.

Change the eula=false value to eula=true. This indicates that you agree to the terms and conditions proposed by Mojang Studios, the game developer.

Once you’re done, click File -> Save. Then click on the .jar file once again to launch the server. You will see more files and documents appear.

A server window will also show up like the following:

This shows that your server is up – keep this window open to keep your server online. To make sure that it runs smoothly without lagging, keep going and follow the next step.
3. Run the Server with Java Commands
To ensure optimized performance and availability of your server, you need to create a new file. In the same Server folder, create a new text document, label it with something recognizable. For example, we are going to name the file start.txt.
Once the file is created, proceed to right-click and edit the file with Notepad. Inside the file, type the following command:
java -Xmx1024M -Xms1024M -jar minecraft_server.1.17.1.jar nogui
pause
For better understanding, let’s breakdown each element of the command:
- java – this signals Java to run the command.
- -Xmx1024M and -Xms1024M – the maximum amount of memory allocated to your server. You can change this value according to your resources but be sure to keep both values the same.
- -jar – specifies the type of file that Java needs to run.
- minecraft_server.1.17.1.jar – refers to your server file name. If your server file is named server.jar, you need to change it accordingly.
- nogui – ensures that Minecraft doesn’t use its own GUI when your server launches.
- pause – keeps the command prompt open while your server is running.

When you’re done writing the command, click File -> Save as. On the Save as type button, click All Files.

Now change the .txt extension on the file name to .bat – this will convert it into Windows Batch File. Be sure to click on the Save button.

The next step is to delete the old start.txt file and open your new batch file to see if your server can start correctly. If you see the following screen, then it means your server is launching.

Note that you should not click on the X button whenever you want to stop the server. Instead, do it by typing a stop command inside the window. This automatically saves all changes inside your game and server and prevents you from corrupting any data.
At this point, your server is ready to go. Players from the same local network should be able to access your server in the Multiplayer tab. However, if you want to make your server available globally, continue and follow the next step.
4. Set Up Port Forwarding
Port forwarding is necessary to connect players from different network connections. Note that this step can be pretty overwhelming and complicated. So, if you’re fine with running a private Minecraft server, you can go ahead and skip this step.
However, if you want your server to be available globally, the first step to set this up is to identify your server’s port. Do so by opening the server.properties file.

From there, you will see the value of your server port. This is the port that people use to connect to your Minecraft server.
First, we will need to allow the port to break through antivirus firewalls to connect with people worldwide.
To do so, simply copy the port value and open the Windows Defender Firewall. On the Firewall window, choose the Advanced Settings menu.

Next, you need to allow your Minecraft server port through TCP and UDP both in Inbound Rules and Outbound Rules.
Let’s get your port through the Inbound Rules. Start by clicking on the option accordingly, and on the Actions window, click New Rule.

Select Port -> TCP, choose Specific local ports, and paste your server port in the provided field.

Click Next, choose to Allow the connection, and make sure this rule applies to all conditions – such as Domain, Private, and Public.

Click Next and specify the name of this new rule. For example, let’s name it Minecraft Server.

Click Finish and repeat the same process to apply it to UDP. The same steps also apply to Outbound Rules.
Now, on to the port forwarding process. Keep in mind that the process may vary depending on what router you’re currently using. In this example, we are going to show you how to do it on the Xfinity router. If you use a different router, try finding the tutorial listed on this page.
The first step is to access the Xfinity dashboard and log into your account. Once you’re logged in, go ahead and navigate to Connect. From there, click Network under your WiFi name and go to Advanced Settings -> Port Forwarding -> Add Port Forward.

Simply fill out all the fields according to your devices and requirements. You should be able to find Minecraft under the common recommendations. Go ahead and choose that, then enter your server port number.

Click Next to start the port forwarding process and wait for it to complete.

5. Connect to the Minecraft Server
When the port forward has been added, other players should be able to access your server using your external IP address. If you don’t know your IP address, a simple Google will show you the result.

In some cases, players might need to add the server port value to connect. For example, they might need to add :25565 at the end of the IP address. Now that you know how to invite other players, we will explain how to connect and play on your Minecraft server.
To connect to your own Minecraft server, you will need to run the .bat file we have previously created. Because your server is now running, proceed to access your Minecraft launcher, then go to the Multiplayer -> Add Server.

Enter your server name and IP address, then click on the Done button to connect. If the connection is successful, this should take you directly to your virtual Minecraft world.
6. Set Up Your Server Properties
Now that you have built and set up your server, the next thing you can do is customize your server properties and enhance your gaming experience. This includes tweaking the difficulty level of your game and setting maximum players in the arena.
Start by opening your server folder and locate the server.properties file, right-click, then choose Edit. Inside the file, you will find various properties that you can change, as follows:

There is numerous type of properties you can customize. Here are some of the common server properties:
- Spawn protection – specifies the radius of the protected area in the virtual world.
- Difficulty – determines the difficulty level of your game, with 3 being the highest.
- Max players – the maximum amount of players allowed within the server.
- Message of the day – display a customized message whenever players log into the server.
- Game mode – sets a game mode for every new player. There is survival (0), creative (1), and adventure (2).
Conclusion
There you have it – you can build a Minecraft server of your own. And while building your own Minecraft server might sound daunting, it is not impossible with the right tools and assistance.
To ensure its performance, you will need to constantly monitor, manage, and improve every aspect of your server, including the hardware and the software. If your server starts to attract more players than you planned, it might be worth it to allocate more resources to keep it stable.
Additionally, remember to always be selective of players you allow into your server – this will help prevent any cyber threats or malicious attacks.
All in all, we hope this article has helped you understand more about Minecraft servers, from the benefits of running your own server to the steps of building one. Should you have any further questions, feel free to comment down below.
Good luck!