Learn basics of Angular 5 animations
In this post, we will learn the basics of Angular Animations by applying it to the Angular Firebase/Firestore authentication App that we built. We will extend the Authentication form we have created in part one of this tutorial, by animating the Login and Sign up forms.
Since Angular version 4, the Angular Animations library has been moved to its own separate package, removing it from the core library of Angular, so you only have to install it only when you need it instead of installing it by default with the angular core library. You can build a simple animation that transitions a component or an element between two states driven by a model attribute.
Animations can be defined inside the @Component({}) metadata.
So now we will add the npm package to our application and import the module in the app.module.ts – the entry file of every Angular application.
Run the following command to install:
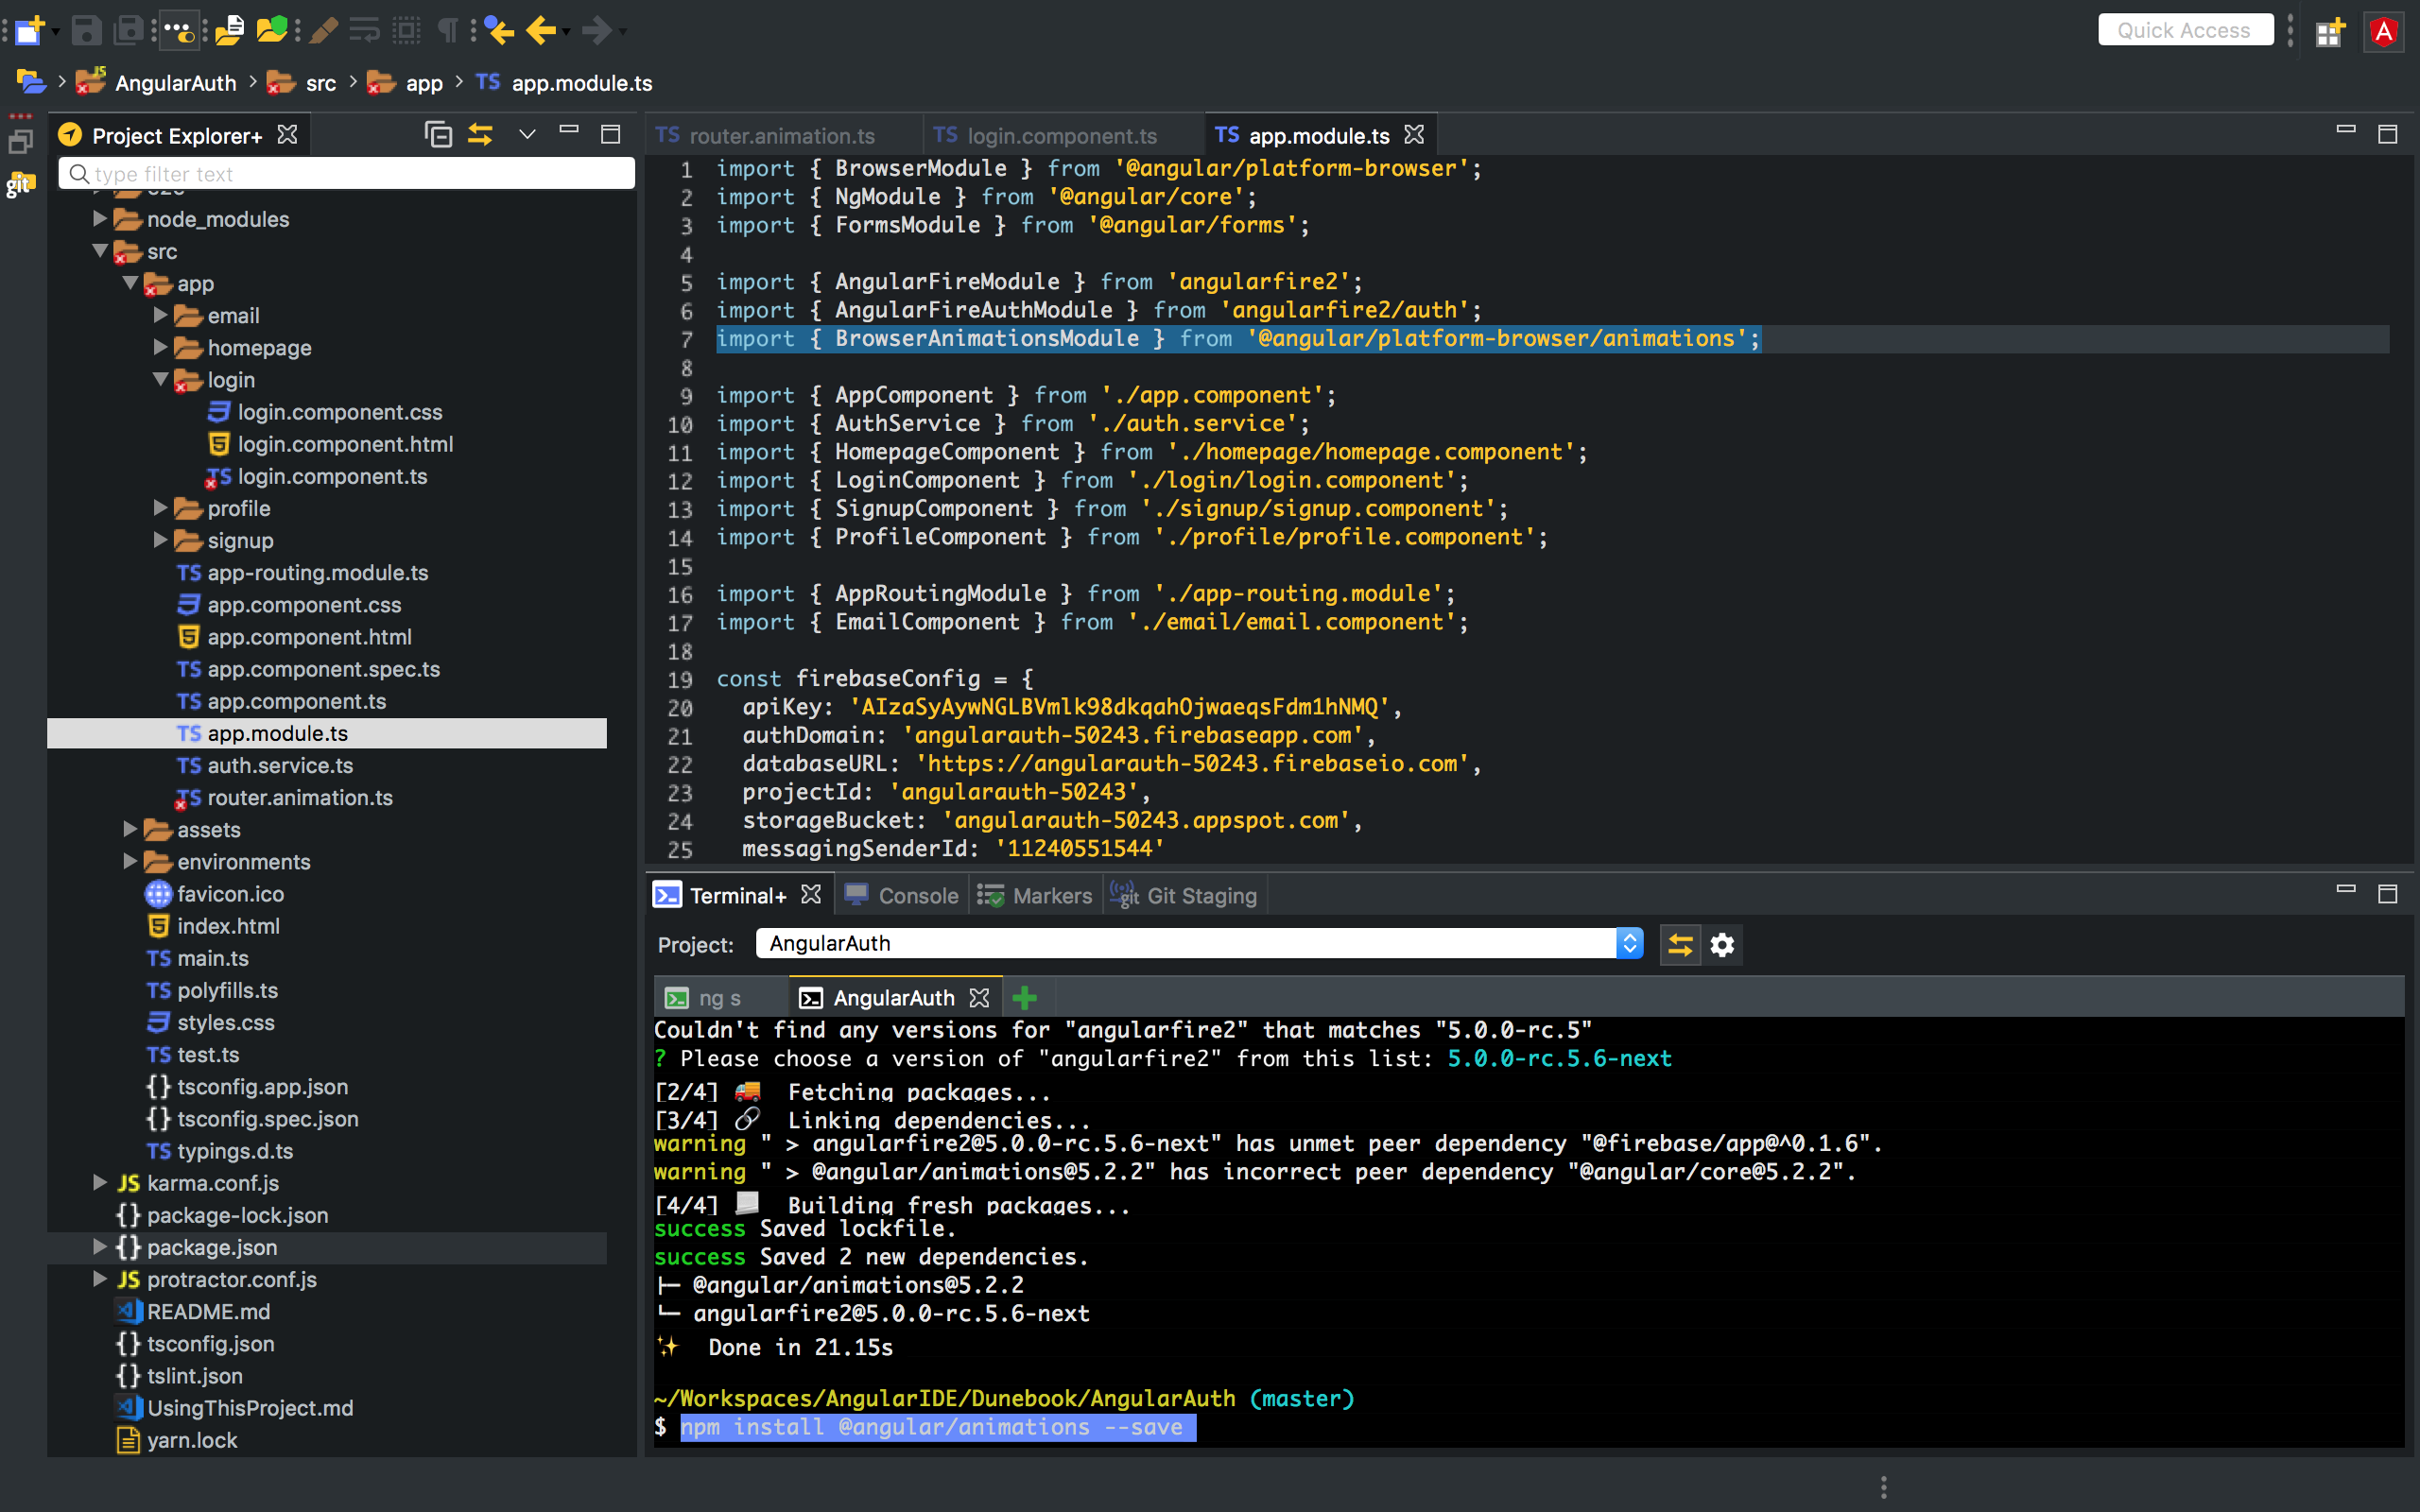
Installing Angular Animations and importing in App module file
npm install @angular/animations --save
Next, we will import the animations module into the app.module.ts file.
import { BrowserAnimationsModule } from '@angular/platform-browser/animations';
After installing and then importing the package into the app module file we will need to add the BrowserAnimationsModule into the imports array.
...other code
imports: [
BrowserModule,
FormsModule,
AppRoutingModule,
AngularFireModule.initializeApp(firebaseConfig),
AngularFireAuthModule,
BrowserAnimationsModule
],
...other code
Let’s go ahead and create a file inside the app folder and name it router.animation.ts

Animate Authentication/Registration with Angular Animations
Add the following code in the router.animations.ts file.
import { trigger, state, animate, style, transition } from '@angular/animations';
export function moveIn() {
return trigger('moveIn', [
state('void', style({position: 'fixed', width: '100%'}) ),
state('*', style({position: 'fixed', width: '100%'}) ),
transition(':enter', [
style({opacity:'0', transform: 'translateX(100px)'}),
animate('.6s ease-in-out', style({opacity:'1', transform: 'translateX(0)'}))
]),
transition(':leave', [
style({opacity:'1', transform: 'translateX(0)'}),
animate('.3s ease-in-out', style({opacity:'0', transform: 'translateX(-200px)'}))
])
]);
}

export function fallIn() {
return trigger('fallIn', [
transition(':enter', [
style({opacity:'0', transform: 'translateY(40px)'}),
animate('.4s .2s ease-in-out', style({opacity:'1', transform: 'translateY(0)'}))
]),
transition(':leave', [
style({opacity:'1', transform: 'translateX(0)'}),
animate('.3s ease-in-out', style({opacity:'0', transform: 'translateX(-200px)'}))
])
]);
}

export function moveInLeft() {
return trigger('moveInLeft', [
transition(':enter', [
style({opacity:'0', transform: 'translateX(-100px)'}),
animate('.6s .2s ease-in-out', style({opacity:'1', transform: 'translateX(0)'}))
])
]);
}
We imported functions needed to create our animations in the first line of the code snippet. Furthermore, we created a function fallIn() which returns an animation trigger called fallIn. It uses animations to slide into a page/state as you will see in the demo later. We also defined some animation styles (transition and transform) inline in the animation metadata. Then we repeated this same approach to create all the other functions. You can create as many functions as you want, tailoring the function to your desired behavior. Read more about Angular Animations here.
You can explore animations further by reading on the basics on W3Schools here and on Mozilla here. You will only be able to take full advantage of the Animations API provided by Angular when you have a clear understanding of CSS animations.
We can now test our animation inside one of our components. Let’s start by testing the moveIn() function inside the LoginComponent. Now, using the [@triggerName] syntax, attach the animation that we just defined to one or more elements in the component’s template. In this example, we are applying the animation to the whole component’s template. That’s why we need to use the host selector.
To do that, first, we will need to add HostBinding to the imports from the core library.
@HostBinding lets you set properties on the element or component. Read this quick explanation for @HostBinding and @HostListeners.
And then after that, we will import the moveIn function from the router.animation.ts file. Then we will use the animations and host selector inside the @Component({ }) decorator. Your LoginComponent file should now look like this:
import { Component, OnInit, HostBinding } from '@angular/core';
import { AuthService } from '../auth.service';
import { moveIn } from '../router.animation';

@Component({
selector: 'app-login',
templateUrl: './login.component.html',
styleUrls: ['./login.component.css'],
animations: [moveIn()],
host: {'[@moveIn]': ''}
})
export class LoginComponent implements OnInit {

constructor(private authService: AuthService) { }

ngOnInit() {}

loginGoogle() {
this.authService.googleLogin();
}

}
If you get a tslint.json warning using host selector check this article for a fix. But basically what you need to do is set the warning to false in the tslint.json file. Find and set this to false – "use-host-property-decorator": false. You can apply this same approach to animate just any component in Angular. Let’s apply this same method to animate the EmailComponent. Using the moveIn and fallIn function. Here’s what my file looks like after editing.
import { Component, OnInit } from '@angular/core';
import { AuthService } from '../auth.service';
import { moveIn, fallIn } from '../router.animation';

@Component({
selector: 'app-email',
templateUrl: './email.component.html',
styleUrls: ['./email.component.css'],
animations: [moveIn(), fallIn()],
host: {'[@moveIn]': ''}
})
export class EmailComponent implements OnInit {
email: any;
password: any;
constructor(
private authService: AuthService) { }

ngOnInit() {
}

onSubmit(formData) {
if (formData.valid) {
console.log(formData.value);
this.authService.login(
formData.value.email,
formData.value.password
);
}
}

}
Lastly, let’s animate the profile component.
import { Component, OnInit, HostBinding } from '@angular/core';
import { AuthService } from '../auth.service';
import { moveIn, fallIn, moveInLeft } from '../router.animation';

@Component({
selector: 'app-profile',
templateUrl: './profile.component.html',
styleUrls: ['./profile.component.css'],
animations: [moveIn(), fallIn(), moveInLeft()],
host: {'[@moveIn]': ''}
})
export class ProfileComponent implements OnInit {

constructor(public authService: AuthService) { }

ngOnInit() {}

signOut() {
this.authService.logout();
}
}
Demo:
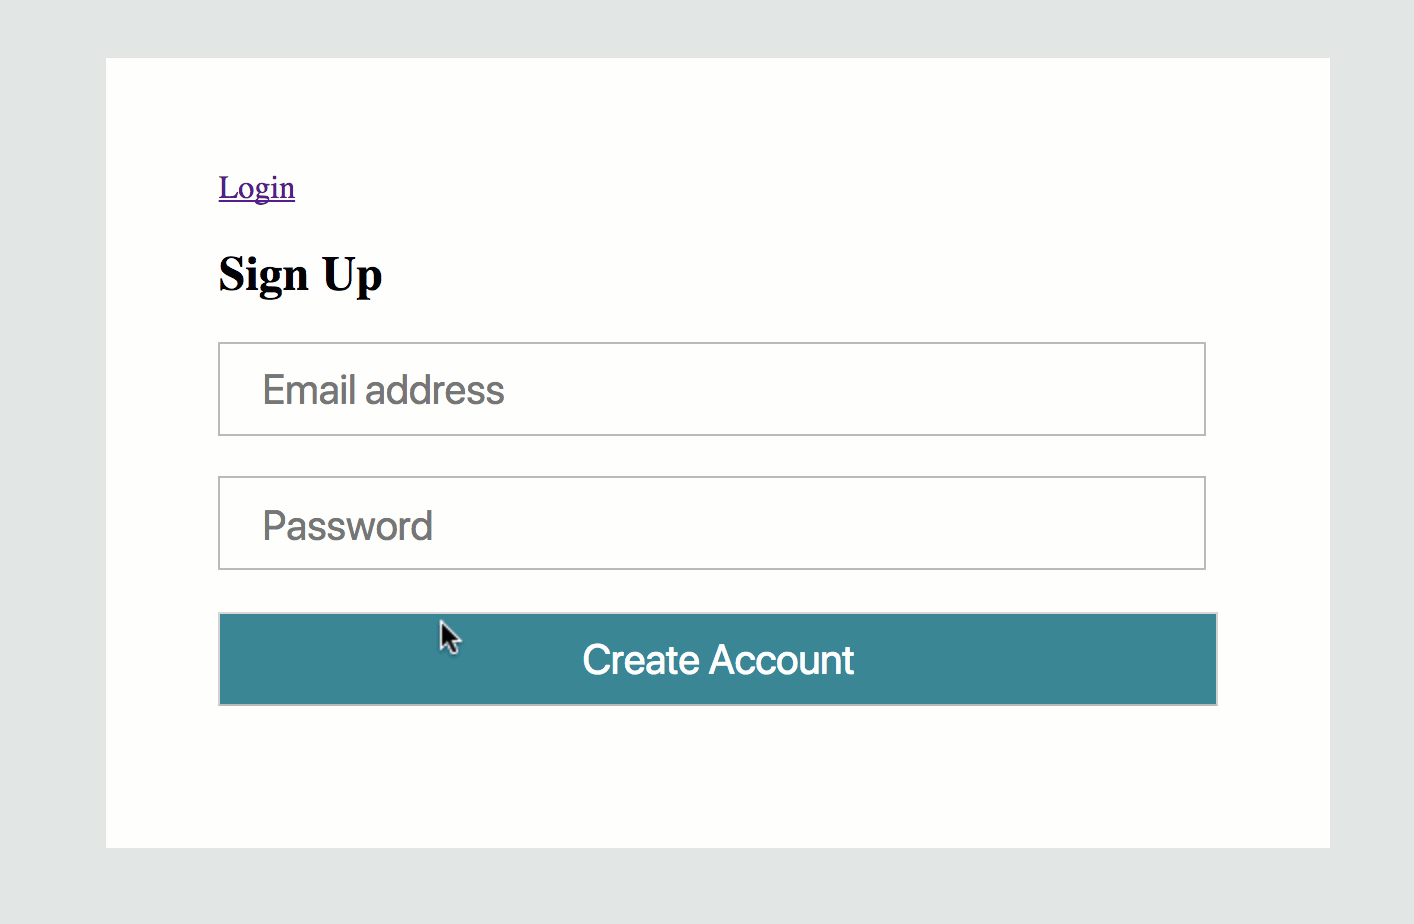
Login and Signup Form Angular Animations Demo
Conclusion
Motion is an important aspect in the design of modern web applications. Well designed animations can make a UI not only more fun but also clear to use. CSS animations integrating with the full power of Angular’s animation system lets you build animations that run with the same kind of native performance found in pure CSS animations. Only with Angular’s animation you can tightly integrate your animation logic with the rest of your application code which essentially enables ease of control.