Consuming WordPress Rest API with Angular

In this article, we will be looking at how to consume WordPress Rest API With Angular.
It uses the essential Angular components along with preset design patterns and re-styling plugins to craft consistent web designs and enhanced user interfaces.
What is WordPress API
The WordPress REST API provides an interface for applications to interact with your WordPress site by sending and receiving data as JSON (JavaScript Object Notation) objects.
It is the foundation of the WordPress Block Editor, and can likewise enable your theme, plugin, or custom application to present new, powerful interfaces for managing and publishing your site content.
How to use WordPress API
The WordPress API uses HTTP verbs appropriate to each action.
| Verb | Description |
| GET | should be used for retrieving data from the API. |
| POST | should be used for creating new resources (i.e users, posts, taxonomies). |
| PUT | should be used for updating resources. |
| DELETE | should be used for deleting resources. |
The API has a lot of parameters that we can use, but we’ll only need 2 of them which are :
- Page: specify the page of results to return.
- Per_page: specify the number of records to return in one request, specified as an integer from 1 to 100.
Setting up the server
We are going to generate Angular Service and import HttpClientModule in our project so that we can be able to interact with the WordPress API through HTTP.
Run the code below to generate angular service:
ng generate service apiOpen app.module.ts and import HttpClientModule and Service
import { HttpClientModule } from "@angular/common/http";
import { ApiService } from './api.service';

@NgModule({
  declarations: [...],
  imports: [
    HttpClientModule
  ],
  providers: [ApiService],
  bootstrap: [...]
})
export class AppModule { }
Open app.api.service.ts and write the code below but first, we have to import HttpClientModule.
import { Injectable } from "@angular/core";
import { HttpClient } from "@angular/common/http";

@Injectable({
  providedIn: "root"
})
export class ApiService {
  constructor(private httpClient: HttpClient) {}
Now write the code below:
base_path = `https://example.com/wp-json/wp/v2/posts?page=1&per_page=6`;
 getBlog() {
    return this.http.get(this.base_path).pipe(retry(2), catchError(this.handleError));
  }
handleError(error: HttpErrorResponse) {
    if (error.error instanceof ErrorEvent) {
      // A client-side or network error occurred. Handle it accordingly.
      console.error('An error occurred:', error.error.message);
    } else {
      // The backend returned an unsuccessful response code.
      // The response body may contain clues as to what went wrong,
      console.error(`Backend returned code ${error.status}, ` + `body was: ${error.error}`);
    }
    // return an observable with a user-facing error message
    return throwError('Something bad happened; please try again later.');
  }
We create a global variable that holds our API, a getBlog() function to fetch blogs from WordPress API, and an error handler.
Fetching data
Now, we are going to fetch data from the WordPress API. Open dashboard.component.ts. We will start by importing the Service so we can be able to access the API endpoint.
import { Component, OnInit } from '@angular/core';
import { ApiService } from "../api.service";

@Component({
  selector: 'app-view',
  templateUrl: './view.component.html',
  styleUrls: ['./view.component.scss']
})
export class ViewComponent implements OnInit {

  constructor(private apiService: ApiService) { }

  ngOnInit() {
  }

}
We are going to make a call to our API service.
ngOnInit() {
    this.getAllBlog();
  }

 getAllBlog() {
    this.loading = true;
    this.apiService.getBlog().subscribe(response => {
      console.log(response);
      this.loading = false;
      this.blogData = response;
    });
  }
In the ngOnInit, we called a function that holds the logic that makes a call to the server.
we subscribe to the WordPress API by calling the this.apiService and the getBlog() function we created in the ApiService and we console.log the response we get from the serve and we assign the value to a global variable so we can access the responses and display them.
We are going to serve our app and see the response we are getting:
ng serve -oIf our app is served successfully, open the dev tools and if the response is in an array of 6 items as shown below, then you are on the right track but if not, then you might be missing out somewhere.
Array(6) [ {…}, {…}, {…}, {…}, {…}, {…}, … ]Displaying Image
Now that we have gotten a successful response we will move further to display our response than going to the console and we will be using angular *ngFor and We used the Material syntax to build UI. Check out the Documentation if you are haven’t used it before.
Open dashboard.component.html and delete the file and replace it with this.
<div fxFlex.gt-lg="99" fxFlex.gt-md="99" fxFlex.gt-xs="100" fxFlex="100">
  <mat-card>
    <mat-tab-group>
      <mat-tab label="Activity">
        <mat-card-content>
          <div
            class="d-flex no-blcok"
            *ngFor="let blog of blogData"
            id="showFristBlog"
          >
            <div class="p-b-20 b-b m-b-30">
              <div fxLayout="row wrap">
                <div fxFlex.gt-md="40" class="mb-4" fxFlex="100">
                  <img
                    class="img-responsive rounded"
                    width="400"
                    src="{{ blog.featured_image }}"
                    alt=""
                  />
                </div>
              </div>
              <a
                [routerLink]="['/single-view', combineSlug(blog.slug, blog.id)]"
              >
                <div class="display-card">
                  <h4 color="headingtext">{{ blog.title.rendered }}</h4>
                  <p [innerHTML]="blog.excerpt.rendered"></p>
                </div>
              </a>
            </div>
          </div>
          <div class="row mb-3 mt-3">
            <div class="col-6">
              <button (click)="previous()">Previous</button>
            </div>
            <div class="col-6">
              <button (click)="next()">Next</button>
            </div>
          </div>
        </mat-card-content>
      </mat-tab>
    </mat-tab-group>
  </mat-card>
</div>
If we look at our web browser again our blog is displayed but it does not look fine and a little styling can help. Open dashboard.component.scss
.position-relative {
position: relative;
}
.add-contact {
position: absolute;
right: 17px;
top: 57px;
}
.row .col-6 {
text-align: center;
}
.row .col-6 button {
border-radius: 20px;
border: none;
background-color: #e6294b;
padding: 10px 40px;
color: #fff;
}
.row .col-6 button:hover {
border: 1px solid #e6294b;
color: #e6294b;
background-color: #fff;
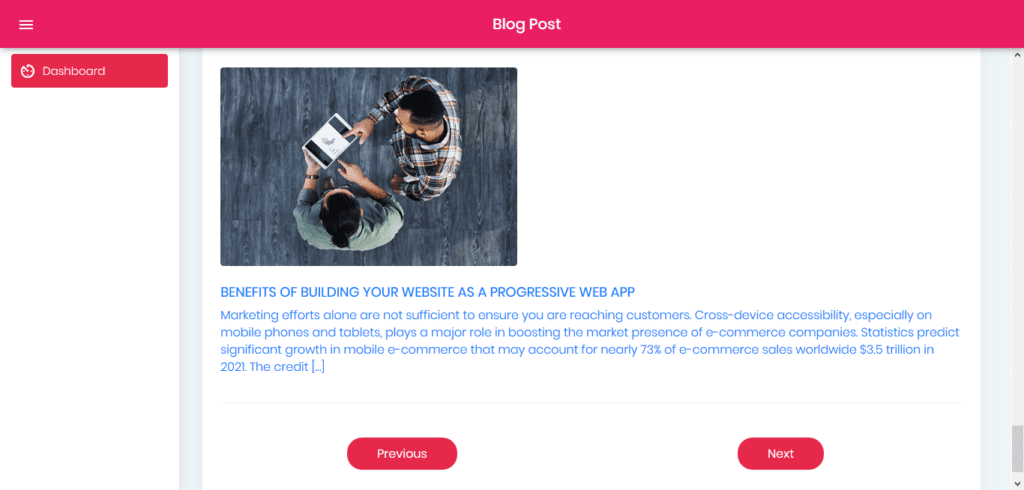
}Now it looks much better.
Add Pagination to Blog
We are going to our next and previous page active.
page = 1;
next() {
    this.apiService.nextUser(this.page += 1).subscribe(data => {
      console.log(data);
      if (data) {
        this.blogData = data;
      }
    });
  }
  previous() {
    if (this.page > 1) {
      this.apiService.previousUser(this.page -= 1).subscribe(data => {
        console.log(data);
        if (data) {
          this.blogData = data;
        }
      });
    }
  }
}
We created a function next(), previous() and also we declare a global variable that holds the page counts.
The next() function update the page counts and the previous() reduce the page counts by going back to the page before the current view page.
We passed the page count in both functions as a parameter.
Open the app.api.service.ts
nextUser(page) {
    return this.http
      .get(`https://epower.ng/wp-json/wp/v2/posts?page=${(page)}&per_page=6`)
      .pipe(retry(2), catchError(this.handleError));
  }
  previousUser(page) {
    return this.http
      .get(`https://epower.ng/wp-json/wp/v2/posts?page=${(page)}&per_page=6`)
      .pipe(retry(2), catchError(this.handleError));
  }
We passed the page count in both functions and also in the API endpoints.
We can serve our app now to see if the next and previous buttons are working.
Yea, it works and it looks really great.
Conclusion
We have finally completed our app and it was cool, right? We were able to learn how to use WordPress API and how to implement pagination and most.