Style encapsulation in Angular

Angular encapsulates the styles to make sure that it doesn’t contaminate any of your other elements. Actually, you’ll be able to really inform Angular whether it wants to do that or not, or if the styles will be accessible globally. You’ll be able to set this through the use of the encapsulation attribute on the element decorator.
The encapsulation attribute takes one of three values:
- ViewEncapsulation.Emulated: This the default, where Angular created shimmed CSS to emulate the behavior that shadow DOMs and shadow roots provide.
- ViewEncapsulation.Native: This is the ideal, where Angular will use shadow roots. This will only work on browsers and platforms that natively support it.
- ViewEncapsulation.None: Uses global CSS, without any encapsulation.
The best way to see how encapsulation impacts . let’s apply it to the application we created before. let’smake a slight change and see how our application behaves under different circumstances.
First, let us add the following snippet of code to the app.component.css file.
.name{font-size:50px;}
If we run the application right now, there is no impact on our application. Now, let us try changing the encapsulation property on the main AppComponent. We will change the component as follows:
import { Component, OnInit } from '@angular/core';
import { ViewEncapsulation } from '@angular/core';

import { HttpClient } from '@angular/common/http';
import { FormBuilder, Validators, FormGroup } from '@angular/forms';
import { Observable } from 'rxjs/Observable';
import { map, switchMap, debounceTime, distinctUntilChanged, filter } from 'rxjs/operators';
import API_KEY from './api_key';

const API_URL = 'https://www.googleapis.com/youtube/v3/search';

@Component({
 selector: 'app-root',
 templateUrl: './app.component.html',
 styleUrls: ['./app.component.css'],
 encapsulation: ViewEncapsulation.None

})
export class AppComponent implements OnInit {
 title = 'Angular RxJs YouTube Searcher';
 searchForm: FormGroup;
 results: Observable<any>;

constructor(private formBuilder: FormBuilder, private http: HttpClient) {
 this.searchForm = this.formBuilder.group({
 search: ['', Validators.required]
 });
 }

ngOnInit() {
 this.search();
 }

search() {
 this.results = this.searchForm.controls.search.valueChanges.pipe(
 debounceTime(500),
 filter(value => value.length > 3),
 distinctUntilChanged(),
 switchMap(searchTerm => this.http.get<any>(`${API_URL}?q=${searchTerm}&key=${API_KEY}&part=snippet`)),
 map(response => response.items)
 );
 }
}
We added the encapsulation: ViewEncapsulation.None line to our Element decorator (after all, after importing the ViewEncapsulation enum from angular). Now if we refresh our application, you will notice that the name of the stock has been blown as much as 50px. It is because the styles utilized on the AppComponentwill not be restricted to only the part however at the moment are taking the global namespace. Thus, any aspect that provides the identify class to itself will get this font-size utilized to it.
ViewEncapsulation.NONE is an efficient method of making use of widespread styles to all child elements, however does undoubtedly add the risk of polluting the global CSS namespace and having unintentional results.
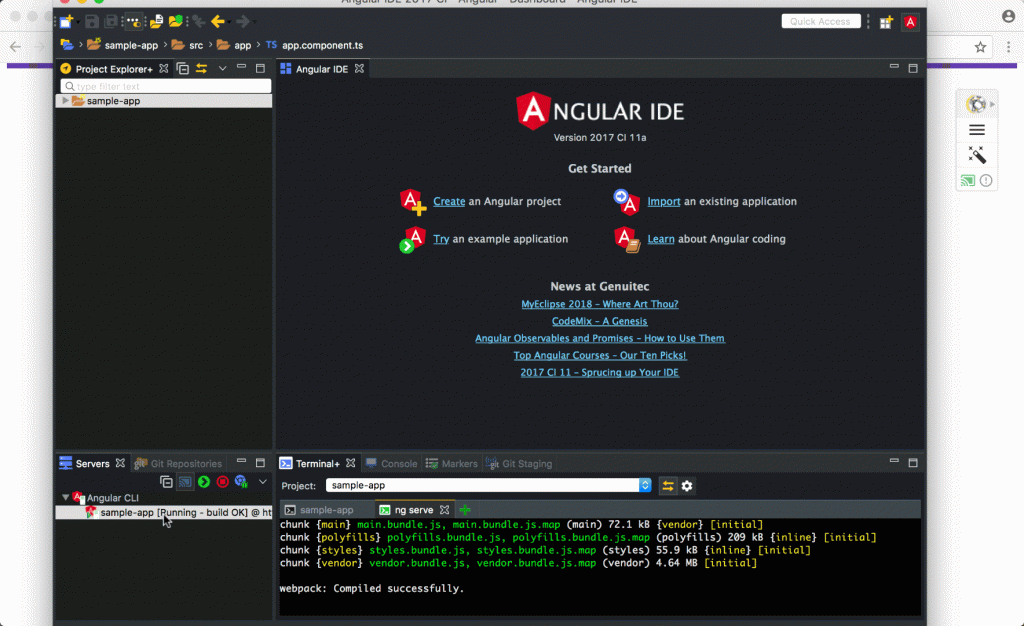
Create Awesome Apps using Angular IDE
Most of examples in this article were created using Angular IDE. The Angular IDE by Webclipse is built specifically for Angular 2+. It is simple for beginners; powerful for experts.
Lightning fast experience within Angular IDE
This IDE supports advanced editing of TypeScript 2.0 which improves your development effectively. Some cool features of Angular IDE are Listed Below.
- Real-time validation and display of errors as you type code.
- Auto-completion of code across your project.
- Syntax-aware source colouring and occurrence highlighting.
- Block and full-file formatting with advanced settings.
- Integrated support for TypeScript debugging
- Built first for tsconfig.json management.