
In this article, I have shared my favorite productivity tips for developing Angular applications using Angular IDE. These features help me increase my productivity on a daily basis and I believe you can benefit from that too.
Tip 1: Using Angular CLI from within Angular IDE.
The Angular CLI makes it easy to create an application that already works, right out of the box. It helps you to automate your development workflow. Both the CLI and generated projects have required dependencies, but when using the CLI within the Angular IDE, these dependencies, for example, Nodejs and NPM get installed for you during the creation of the project.
You can use the CLI to quickly create a new Angular project and generate components, directives, services, pipes and more for your project. The integration of Angular CLI with Angular IDE provides you all the power of the CLI from within the IDE without using the terminal or command line.
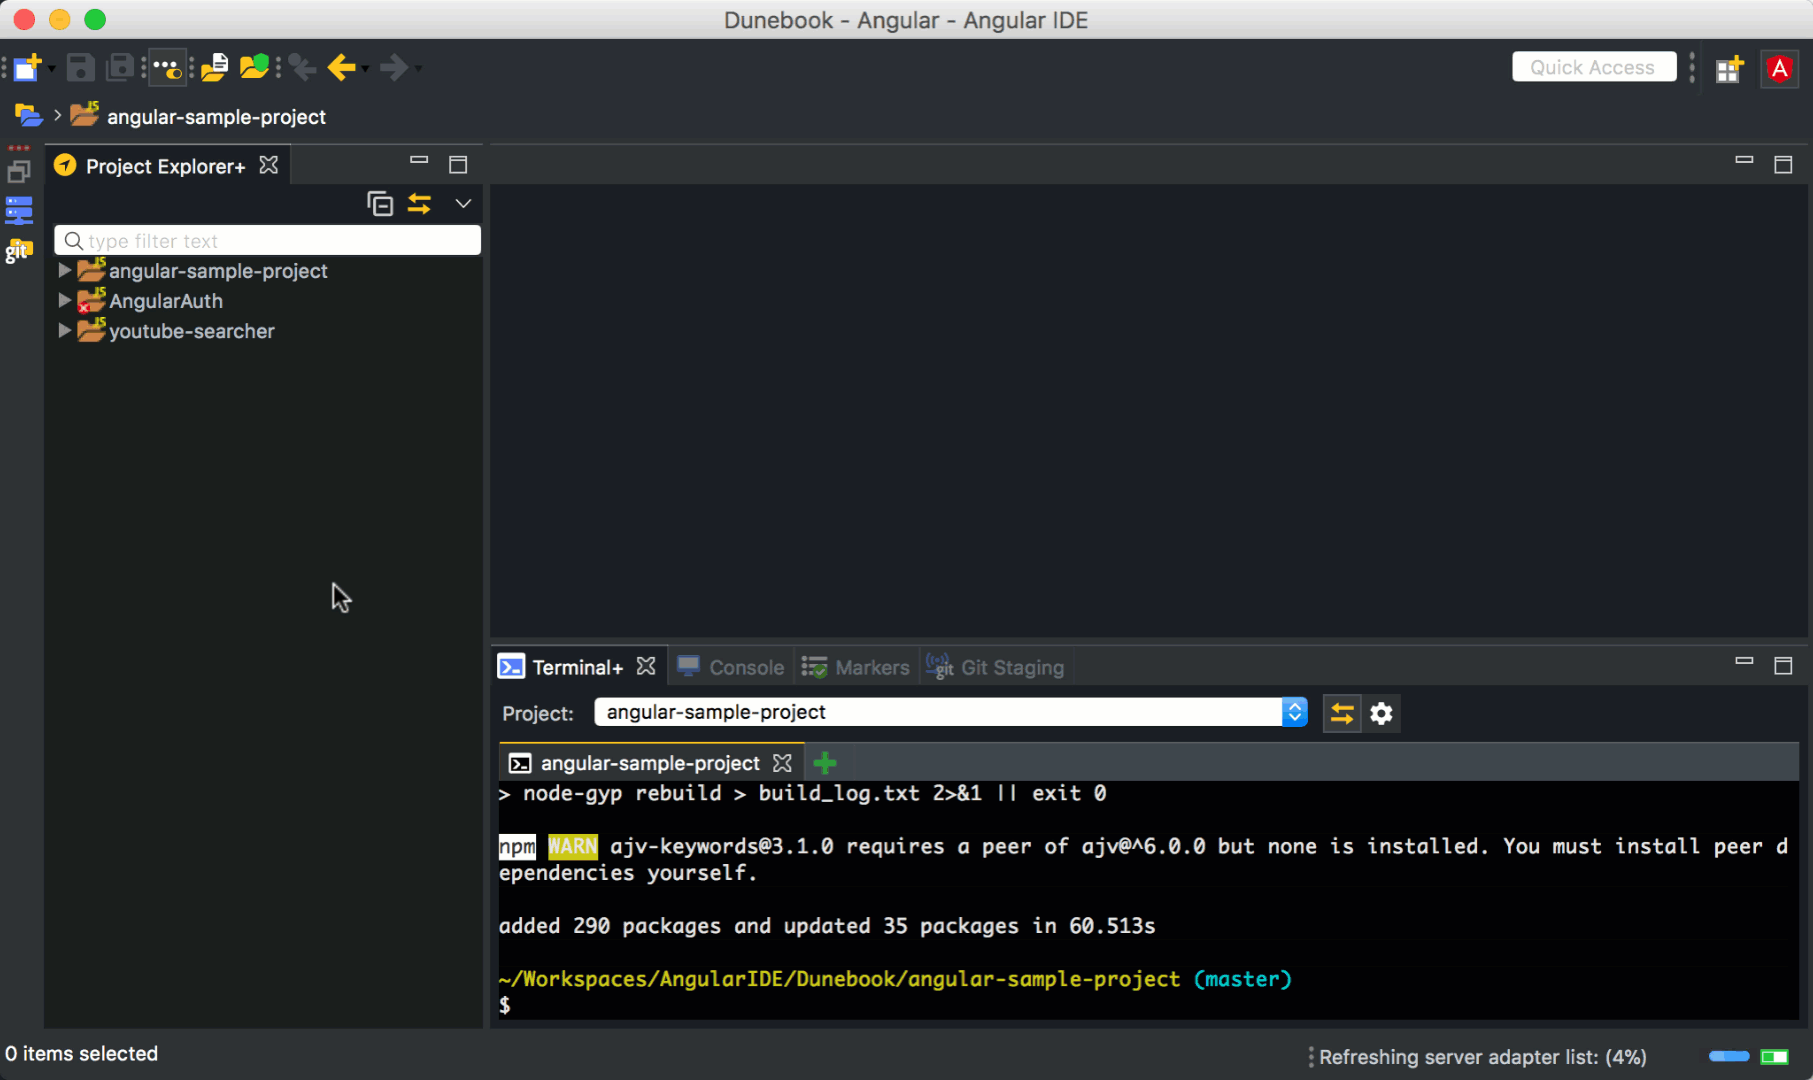
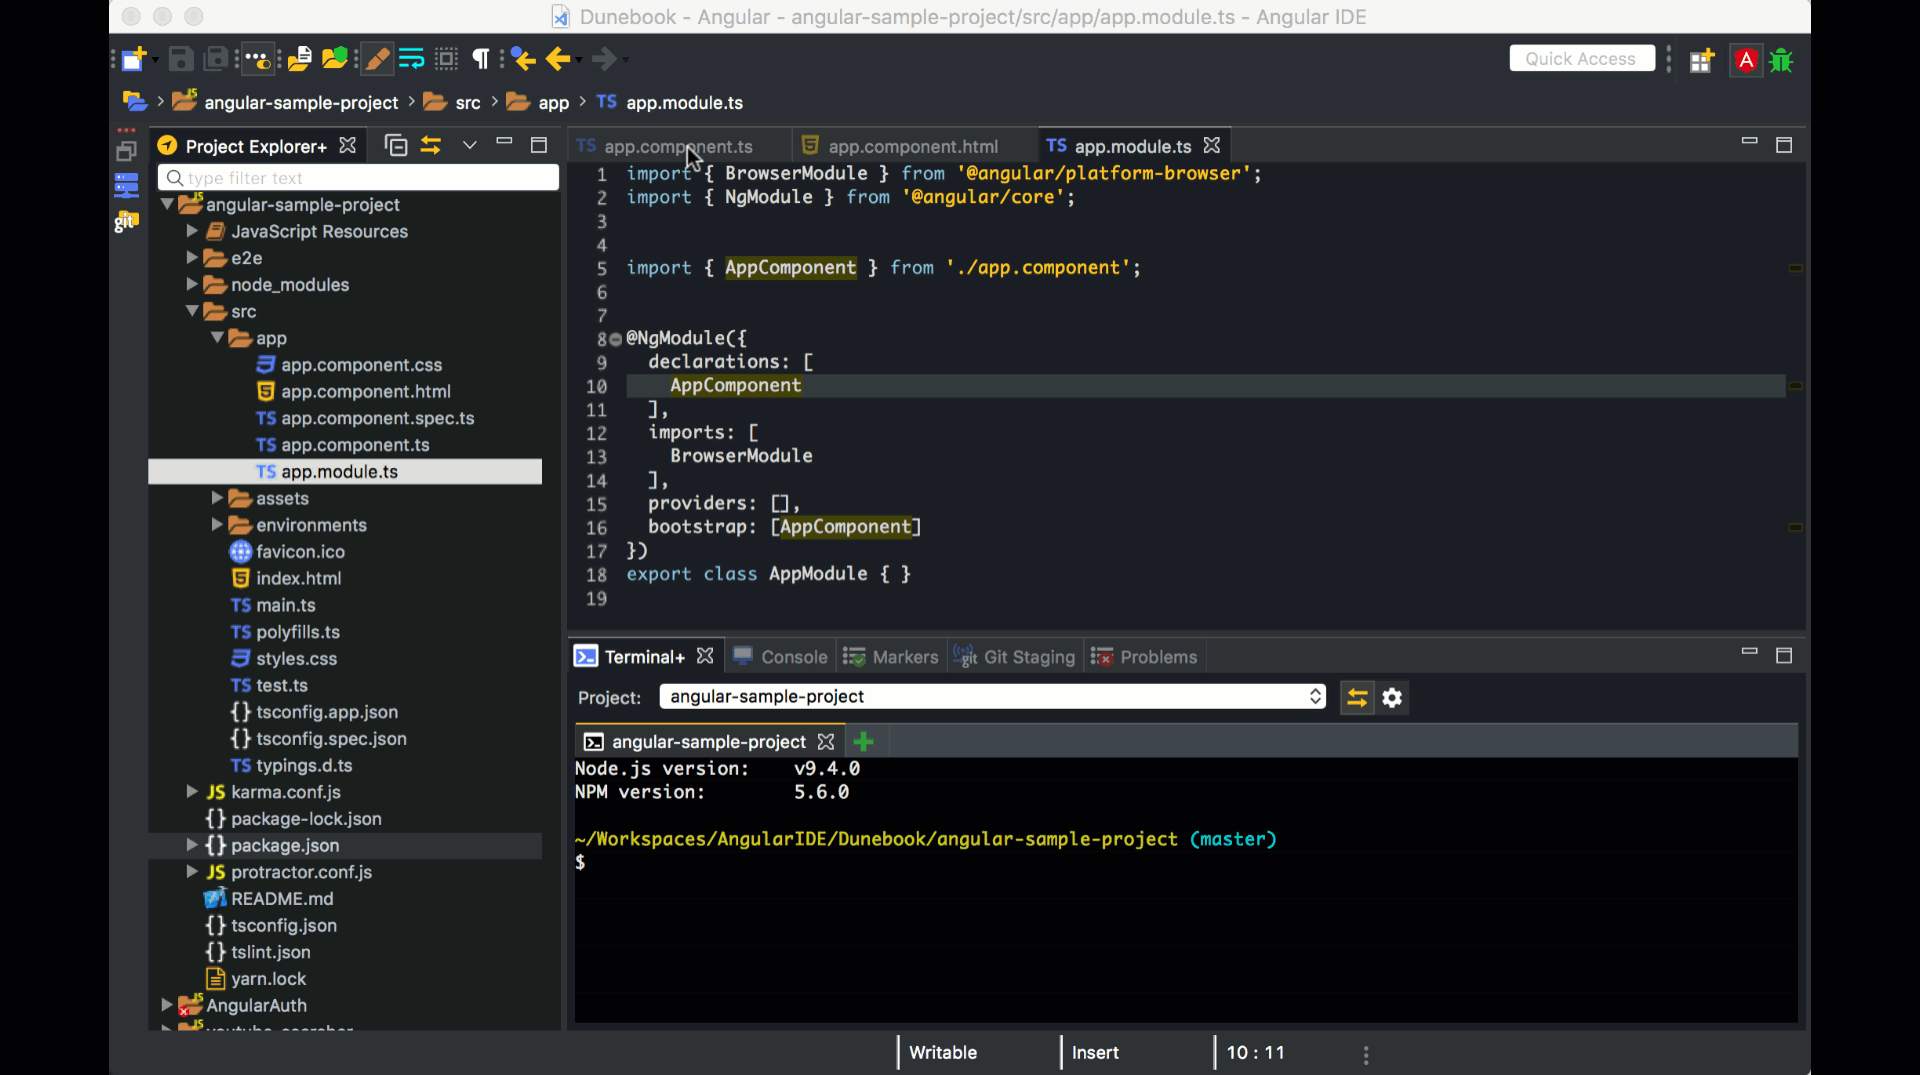
To create a new Angular project:
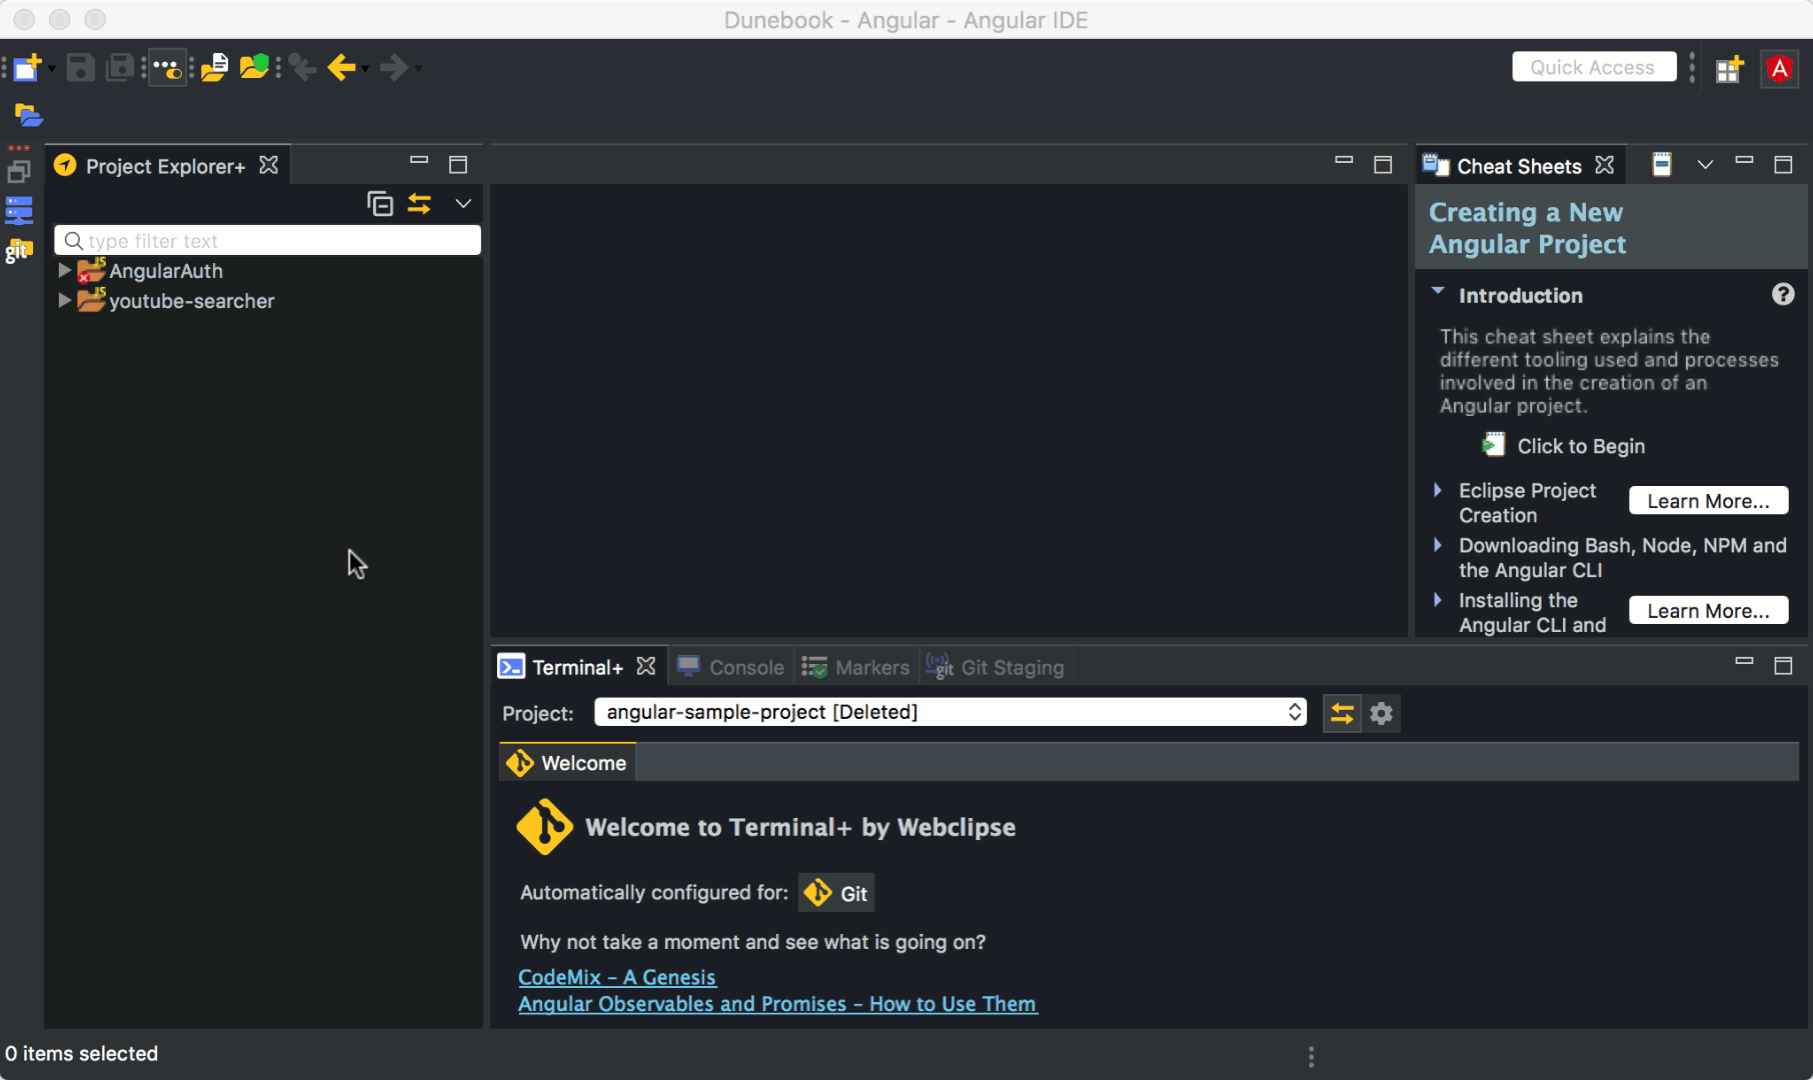
Creating a new Angular Project with Angular IDE
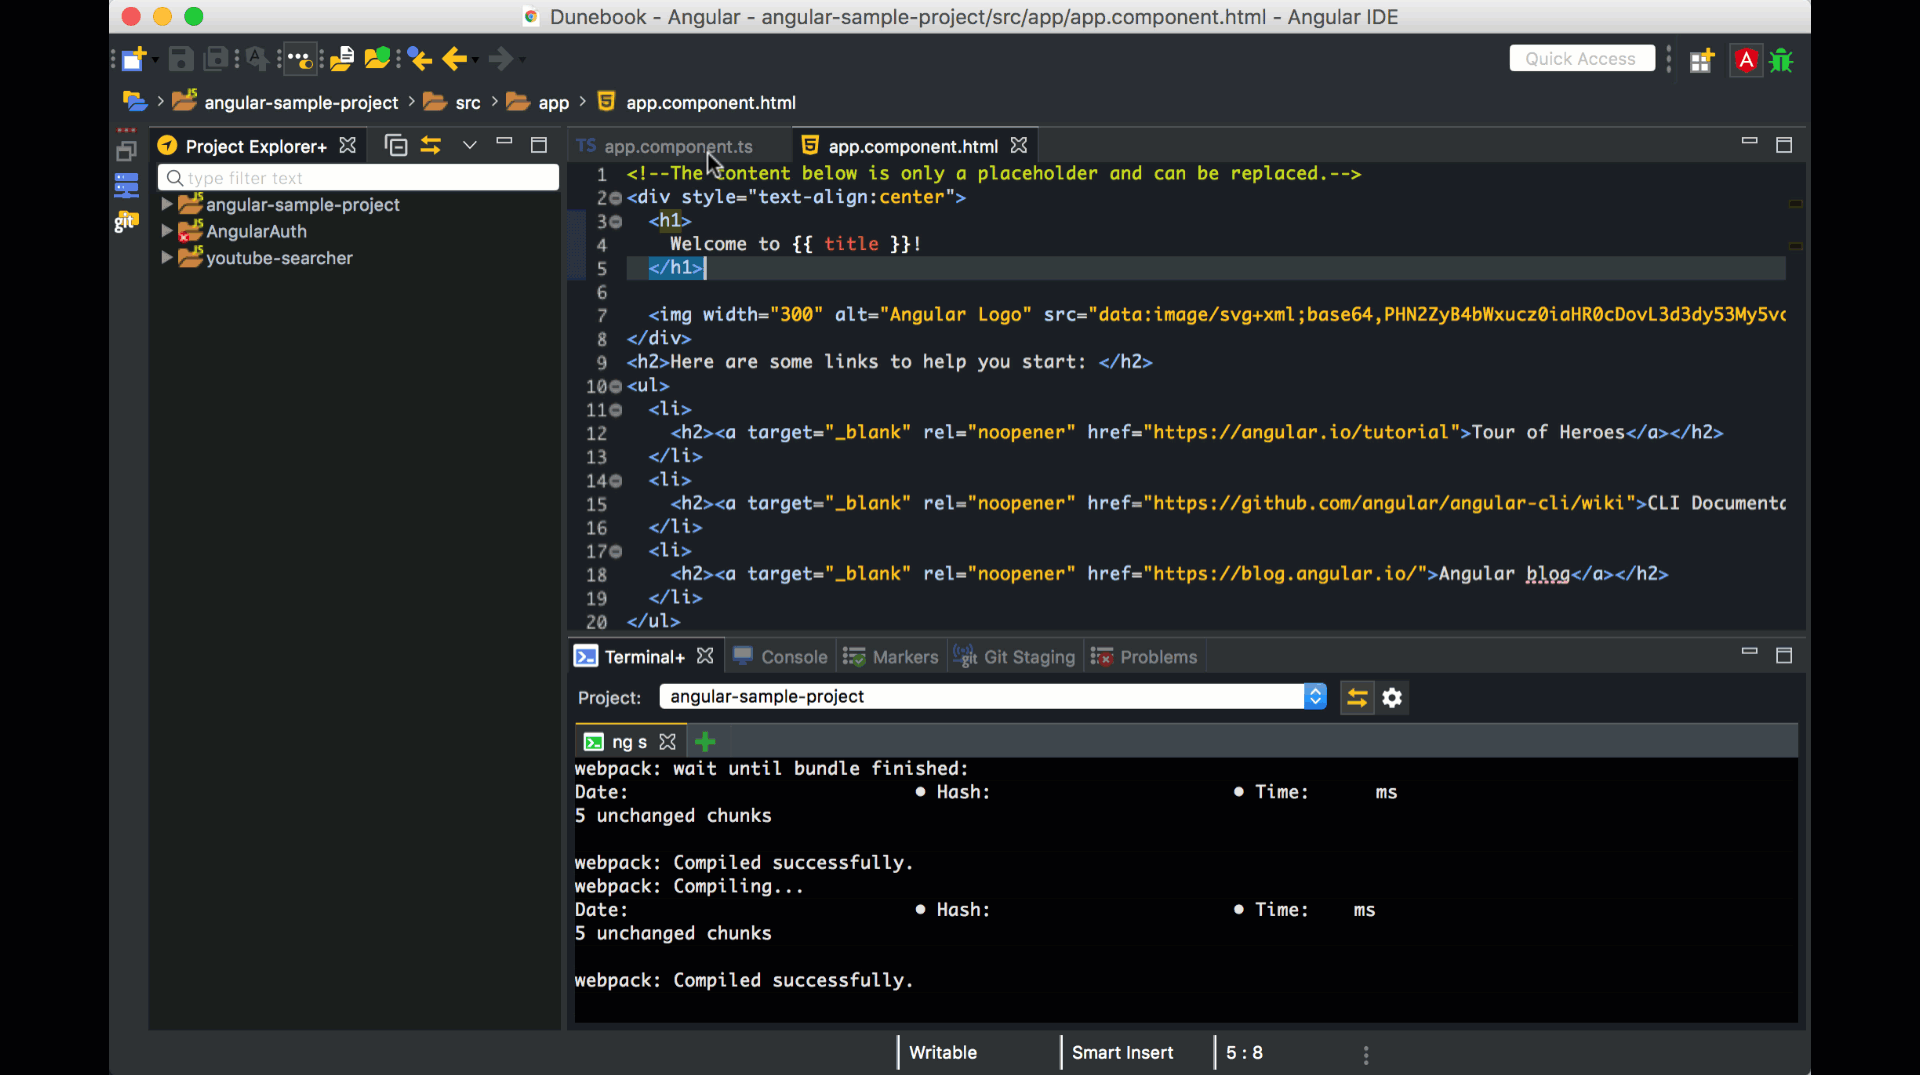
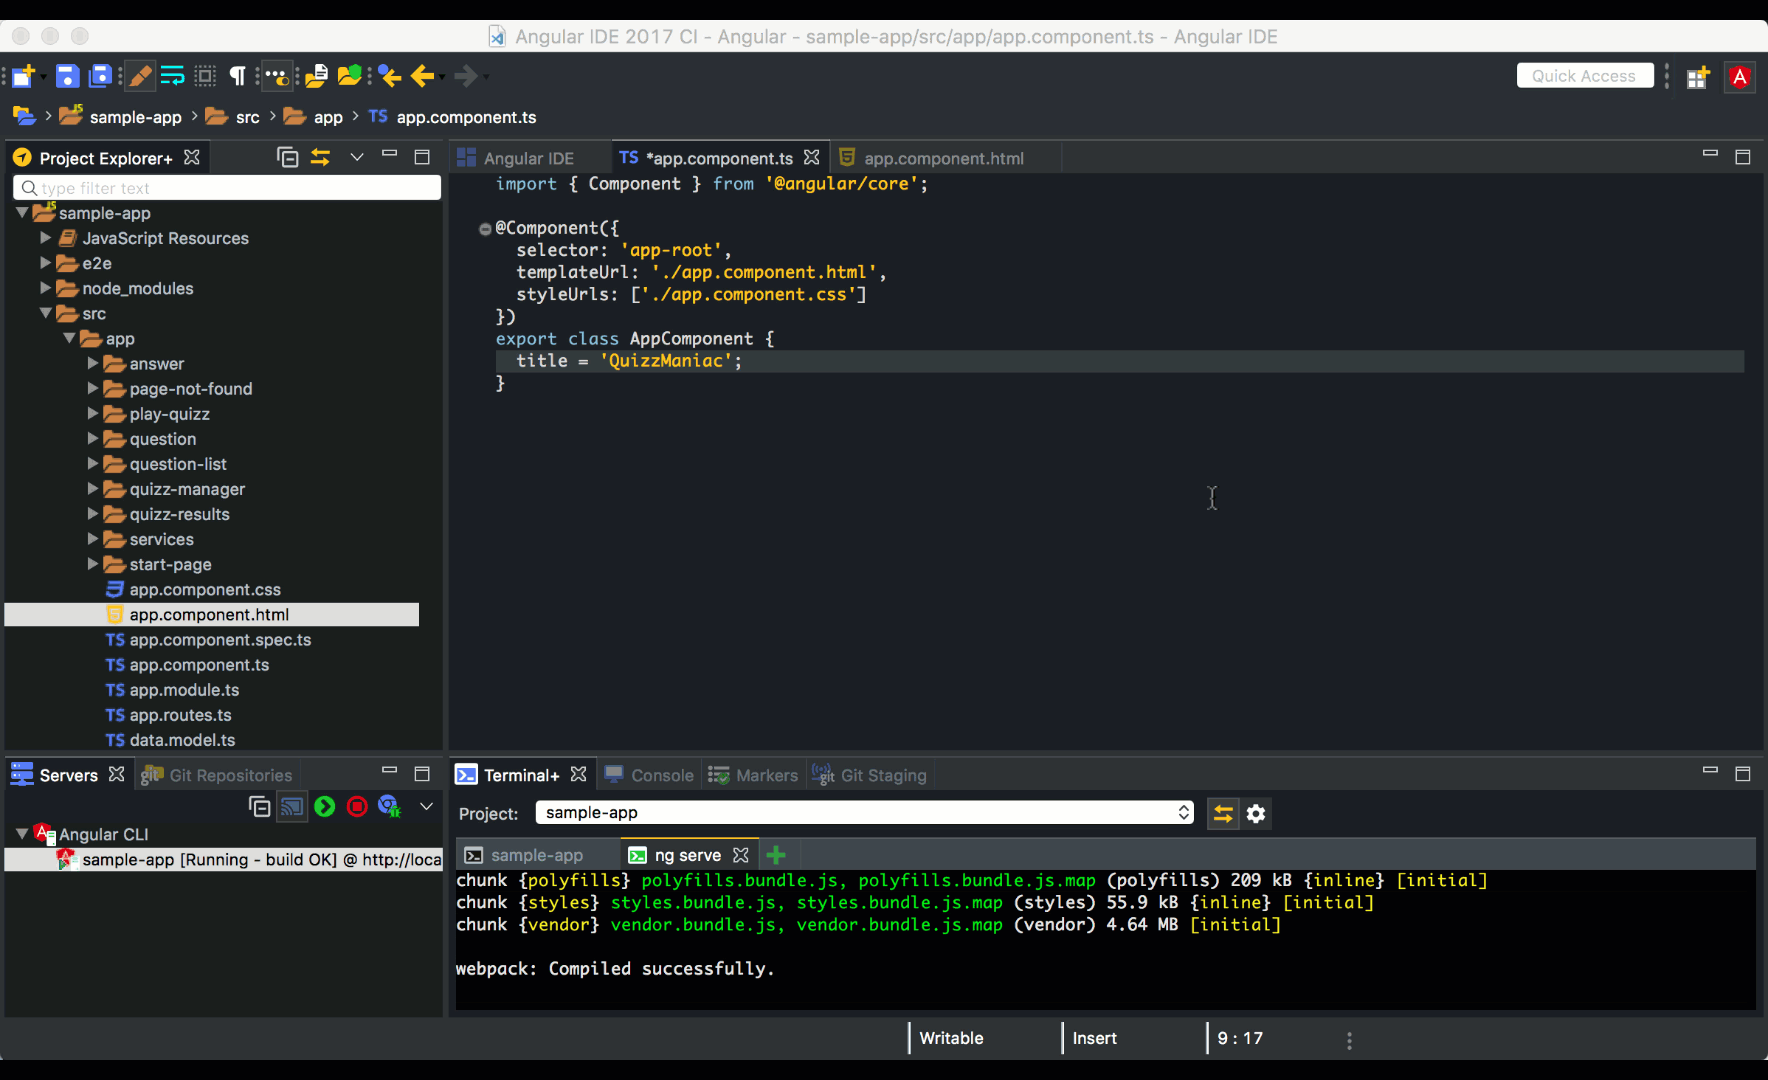
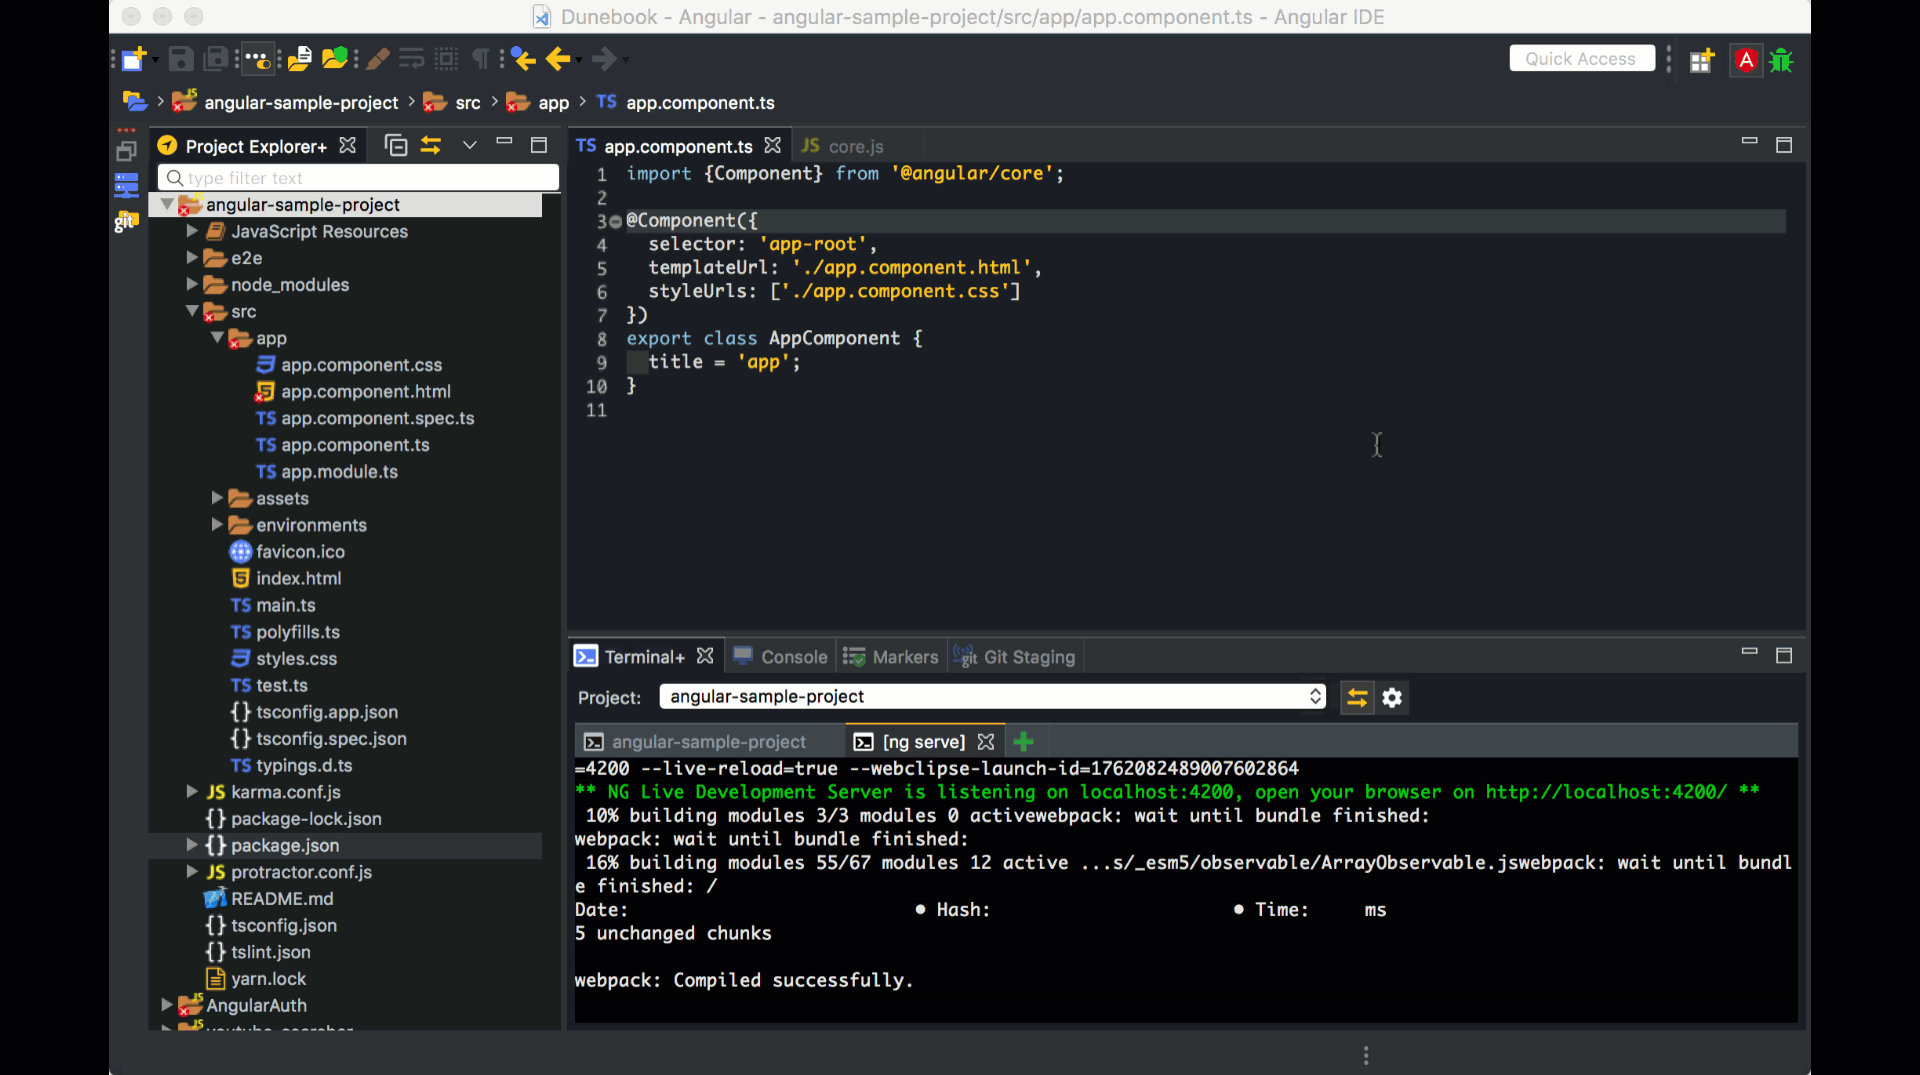
Tip 2: Angular IDE Server
To run Angular applications inside the Angular IDE, navigate to the Servers view and click the Start button on the desired application. The application automatically starts in the Terminal+ view where the output can be seen, and any build errors will be shown in the editors.The Angular CLI server will automatically monitor for changes in files and rebuild them. Any build errors are relayed into the IDE, simplifying development, and at any time, the output of the server can be seen in the Terminal+ view for the given project.
Run Angular project on Angular IDE
Tip 3: Linting
TSLint is an extensible linter for TypeScript. While Angular IDE’s existing TypeScript validator will already find syntax errors in your code, TSLint checks your code for readability, maintainability, and functionality errors – allowing you to fix them before running into them in production, at runtime.
Linting in Angular IDE
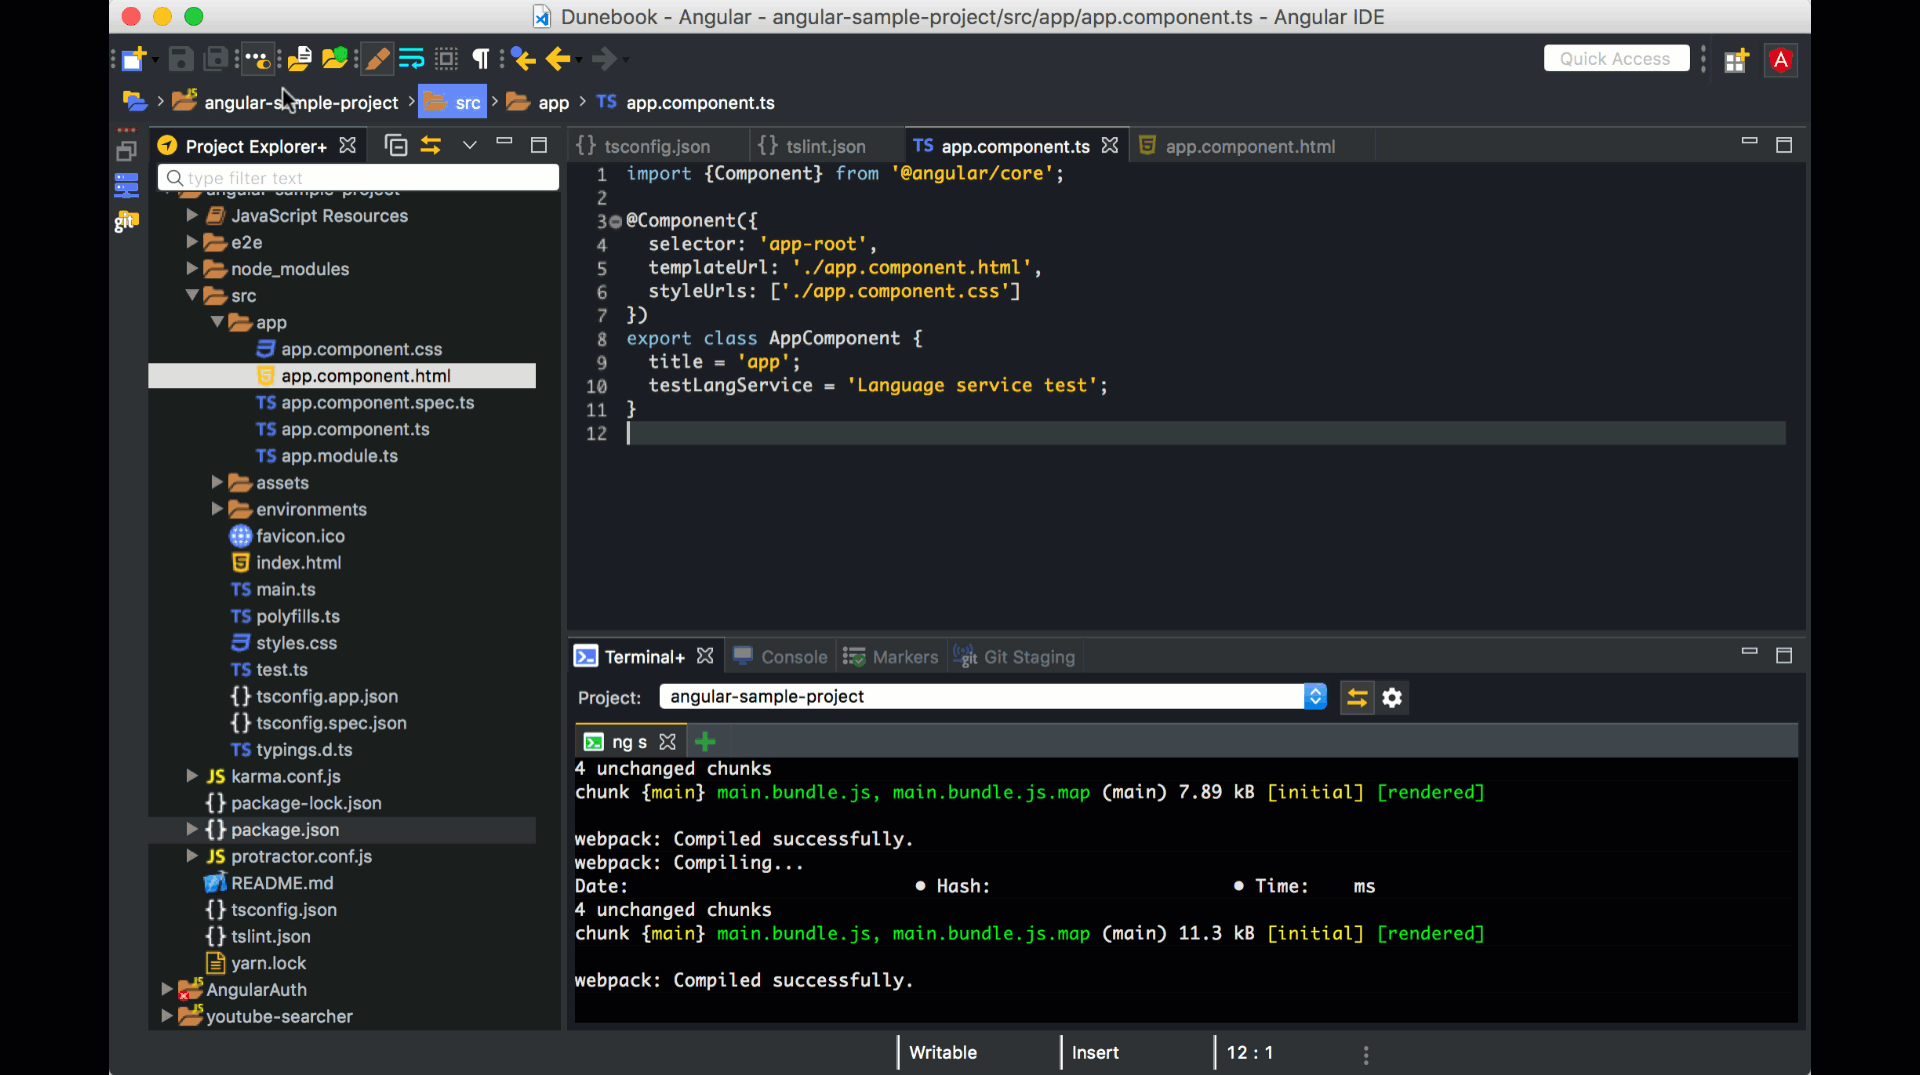
Tip 4: Code Autoformatting
Whether you are in a template, a script, a stylesheet or even a JSON file, just hit shift–cmd–F, and Angular IDE will automatically format all code for you:
Code Formatting in Angular IDE
Tip 5: Powerful content assist
The Angular Language Service is a way to get completions, errors, hints, and navigation inside your Angular templates, whether they are external in an HTML file or embedded in annotations/decorators in a string. The Angular Language Service autodetects that you are opening an Angular file, reads your tsconfig.json file, finds all the templates you have in your application, and then provides language services for any templates that you open.
Autosuggest and Autocompletion aka content assist in Angular IDE
Tip 6: CodeLive
CodeLive connects the Browser to the IDE for Fast Web Development. It makes it easy to see what files or Angular components are being loaded on a web page and quickly jump from the page to the source.
Lightning fast experience within Angular IDE
Tip 7: Navigate like a pro
Use cmd+click orctrl+click to easily jump to any definition within your project.Angular IDE automatically recognizes Angular components and directives in your HTML, links to stylesheets, links to templates, classes, interfaces and much more.No need to open file(s) manually- just jump to any definition you need:
Navigate like a pro in Angular IDE
Tip 8: Run Tests within the IDE
Run and debug tests with Angular’s TestBed right from the IDE. TestBed is installed automatically when you create a new Angular app, and a sample Spec template is generated everytime you generate a component with the Angular CLI commands. Test results will be presented in a tool window. You can filter the test results and opt to only display failing tests.
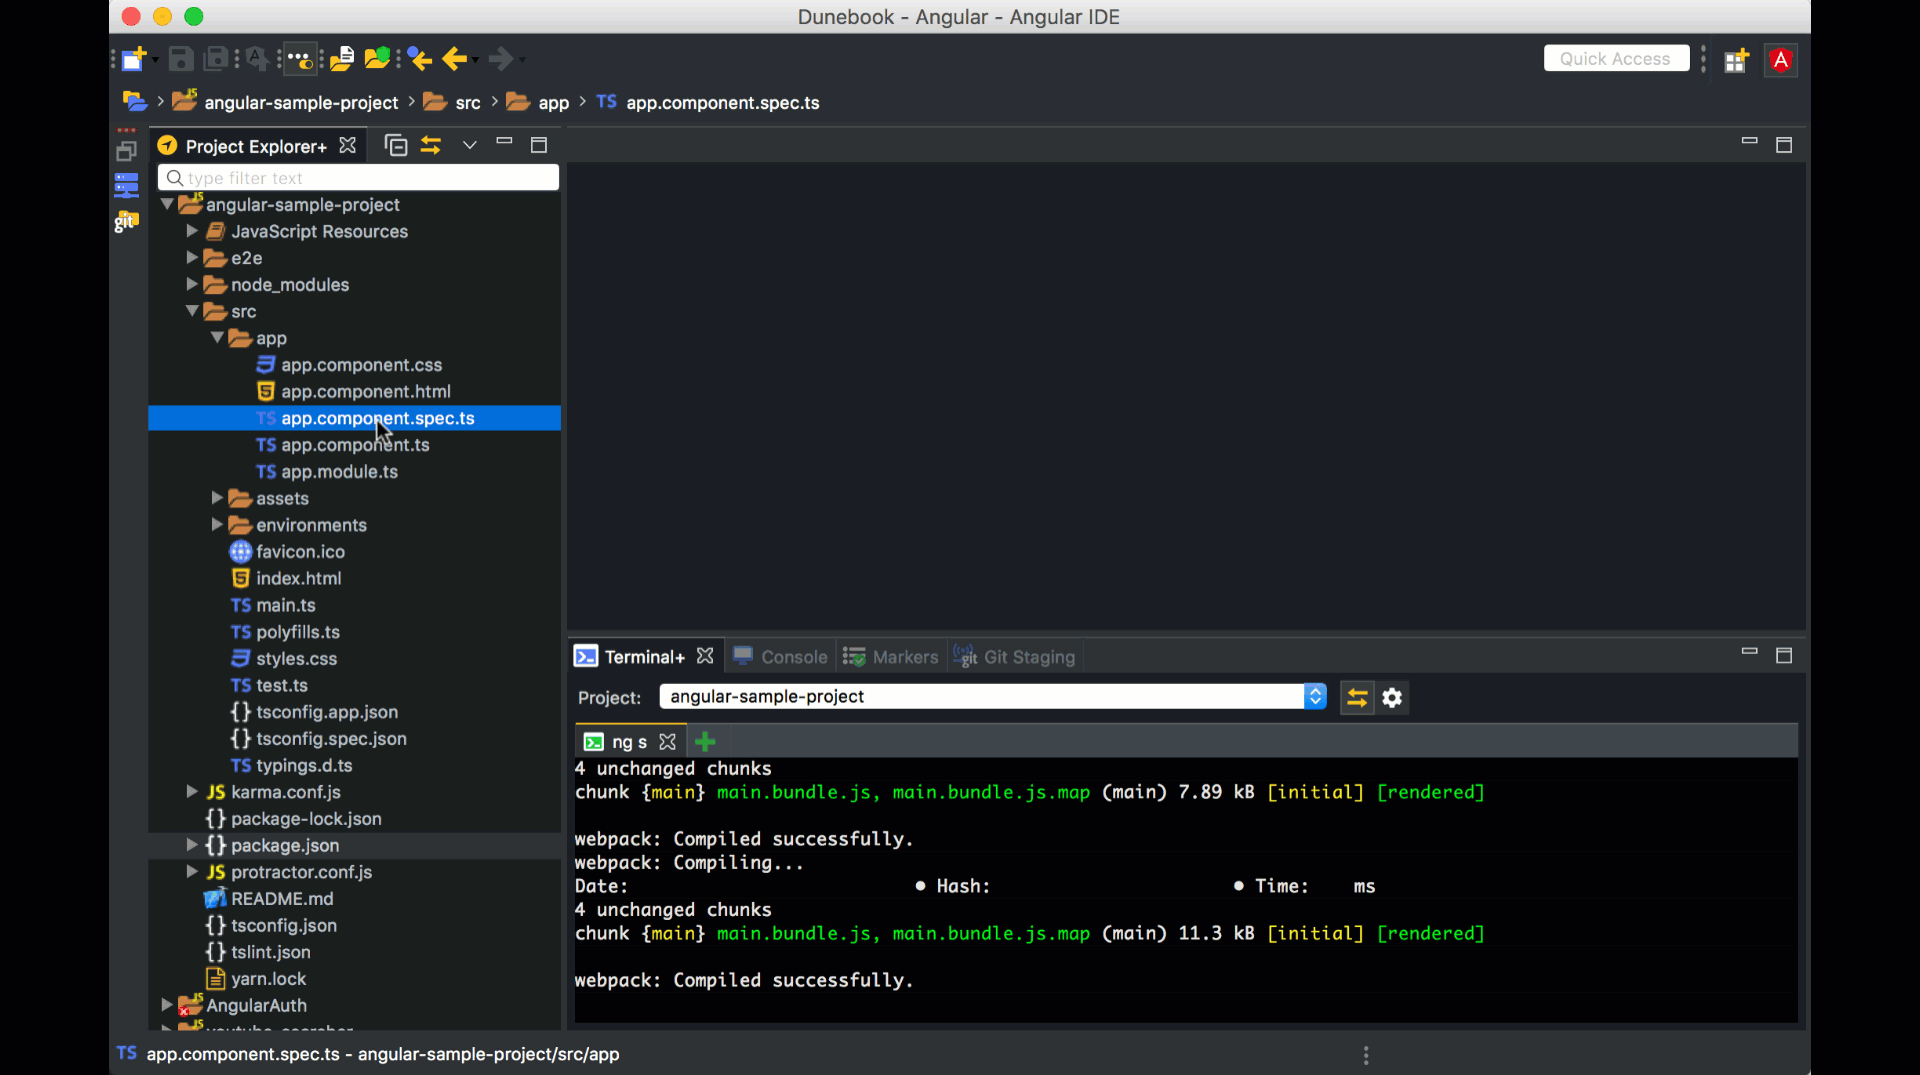
Testing your application in Angular IDE
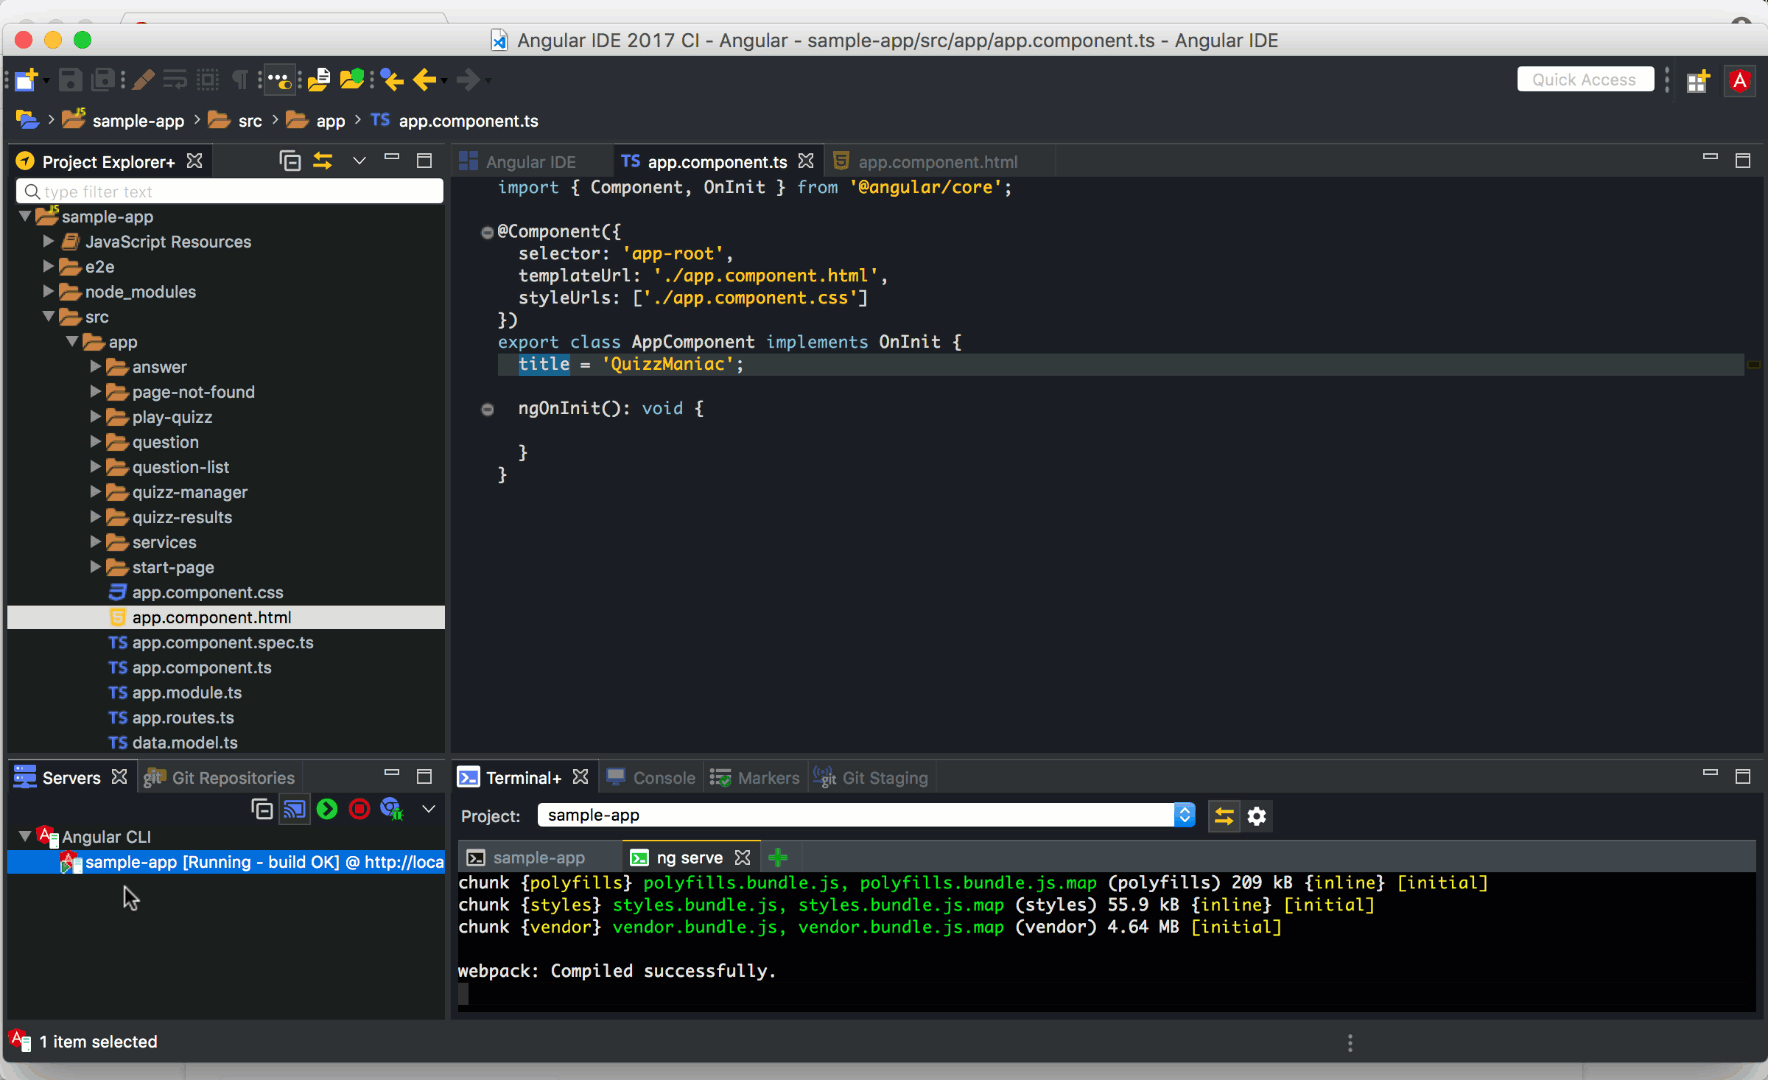
Tip 9: Debugging
When working with components, debugging the behavior is key to quickly diagnosing problems in the TypeScript code. To that end, the Angular IDE provides integrated support for debugging Angular applications by simply setting breakpoints in the desired TypeScript class and then running the application in Debug mode from the Servers view.
Debugging in Angular IDE
Tip 10: Navigate Using Breadcrumb
Breadcrumbs show the names of classes, variables, functions, and methods. Click on the name of a breadcrumb to jump to the parent object.
Using Angular IDE’s Breadcrumbs
Conclusion
Angular IDE helps you discover different ways to improve coding for modern web development. From time-saving shortcuts to navigation through your codebase with ease, one can argue that Angular IDE is at top of the list of the best tools for web development with Angular. So give it a try if you haven’t, download it here. Happy Coding !
Download for Free