
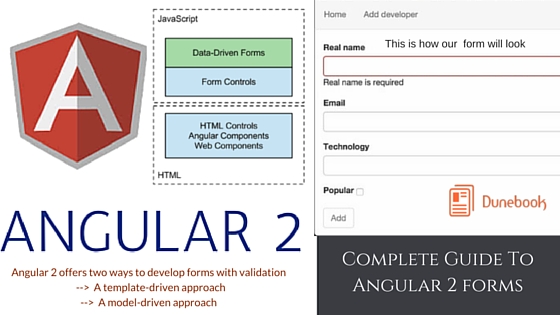
Using select inputs with Angular
As the next step, we should allow the user of the application to enter the technology into which the input developer has the most proficiency. We can define a list of technologies and show them in the form as a select input.
In the AddDeveloper class, add the technologies property:
class AddDeveloper {
  …
  technologies: string[] = [
    'JavaScript',
    'C',
    'C#',
    'Clojure'
  ];
  …
}
Now in the template, just above the submit button, add the following markup:
<div class="form-group">
  <label class="control-label"
         for="technologyInput">Technology</label>
  <div>
    <select class="form-control"
            ngControl="technology" required
            [(ngModel)]="developer.technology">
        <option *ngFor="#t of technologies"
                [value]="t">{{t}}</option>
    </select>
  </div>
</div>
Just like for the input elements we declared earlier, Angular 2 will add the same classes depending on the state of the select input. In order to show red border around the select element when its value is invalid, we need to alter the CSS rules:
@Component({
  …
  styles: [
    `input.ng-touched.ng-invalid,
     select.ng-touched.ng-invalid {
      border: 1px solid red;
    }`
  ],
  …
})
class AddDeveloper {…}
Right after this, we will declare the name of the control to be equal to “technology” using ngControl="technology". By using the required attribute, we will declare that the user of the application must specify the technology into which the current developer is proficient. Let’s skip the [(ngModel)] attribute for the last time and see how we can define the select element’s options.
Inside the select element, we will define the different options using:
<option *ngFor="#t of technologies"
        [value]="t">{{t}}</option>
This is a syntax we’re already familiar with. We will simply iterate over all the technologies defined within the AddDeveloper class, and for each technology, we will show an option element with a value of the technology name.