Build a Drawing App with Vue 3 and HTML5 Canvas

Dev Bytes – This tutorial demonstrates how to create a simple drawing app using Vue.js and HTML5 Canvas.
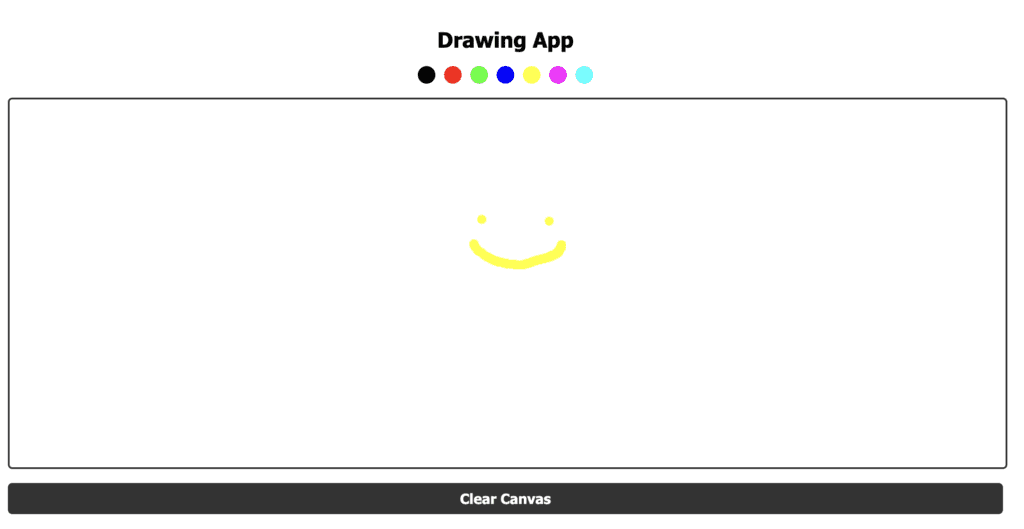
The final result is a basic but functional drawing app that showcases the power of combining Vue and HTML5 Canvas.
In this tutorial, we will be building a simple drawing app with Vue 3 and Html5 Canvas.
HTML’s <canvas> element is an excellent tool for rendering graphics in web applications.
Vue is a fantastic JavaScript framework that provides a powerful yet intuitive platform for creating dynamic user interfaces.
Video Tutorial of this guide:
Through the combination of these two technologies, we’ll create a drawing app that demonstrates the full potential of both HTML5 and Vue.js.
So let’s dive in and start building!
Building the file structure
Let’s start by creating a file structure for the application. We will basically need just 3 files: index.html ,main.css and app.js file(s). To create these files open up the terminal and type the following code:
mkdir drawing-app && cd drawing-app
touch index.html app.js main.css
After creating these files, let’s set up our index.html file and bring Vue into the project. Let’s define a simple boilerplate and then link the CSS stylesheet and the javascript to the index.html file and also initialize Vue by adding the Vue development CDN. Open up the terminal and add the following code to your index.html file:
<!DOCTYPE html>
<html lang="en">
<head>
    <meta charset="UTF-8">
    <meta name="viewport" content="width=device-width, initial-scale=1.0">
    <title>Drawing App</title>
    <link rel="stylesheet" href="main.css">
</head>
<body>
    <div id="app">
  <h1>{{ message }}</h1>
 <canvas id="canvas"></canvas>
</div>

       <script src="https://unpkg.com/vue@next"></script>
    <script src="app.js"></script>
</body>
</html>
And then to set up Vue 3, let’s also add the following to the app.js file. We start by Importing Vue 3 global build utilities
const { createApp, ref, onMounted } = Vue;
const app = createApp({
setup() {
const message = ref("Drawing App");
const painting = ref(false);
const canvas = ref(null);
const ctx = ref(null);
const colors = ref(["#000000", "#FF0000", "#00FF00", "#0000FF", "#FFFF00", "#FF00FF", "#00FFFF"]);
The code above destructures createApp, ref, and onMounted from the global Vue object. These utilities are used to create the app, handle reactivity, and manage the component lifecycle, respectively.
createApp is used to set up the Vue application and make sure it’s ready to show the web page on the screen. It’s like the foundation of the web page.
In Vue 3, the setup function is used to manage the component’s state and logic using the Composition API.
ref is used to help keep track of different parts of the web page that might change as a user interacts with it. For example, the title of the web page or whether a user is painting on a canvas.
Run The Live Server
We can run our application by using live-server. If you don’t have live-server installed on your local machine, then install it by running npm i live-server -g
The -g flag will install the package globally in our local machine. After installing it, you can now move into your development project using the terminal by using the cd command followed by the location of your application.
To run our application using live-server open up the terminal and run the following commands:
cd drawing-app && live-server --port=4040This will open up our application on a live server running on port 4040.
Let’s continue building our application.
Let’s continue by defining the changeColor function
const changeColor = (color) => {
  ctx.value.strokeStyle = color;
};
This function changes the stroke color when a user selects a different color from the color picker. It takes a color parameter and sets the stroke style of the canvas context.
Next, Define the clearCanvas function:
const clearCanvas = () => {
  ctx.value.clearRect(0, 0, canvas.value.width, canvas.value.height);
};
This function clears the canvas when the user clicks the “Clear Canvas” button. It uses the clearRect method to erase the content of the canvas.
Now, we will define Define the startPainting, finishedPainting, and draw functions:
const startPainting = (e) => {
  painting.value = true;
  draw(e);
};

const finishedPainting = () => {
  painting.value = false;
  ctx.value.beginPath();
};

const draw = (e) => {
  if (!painting.value) return;

  ctx.value.lineWidth = 10;
  ctx.value.lineCap = "round";

  ctx.value.lineTo(e.clientX - canvas.value.offsetLeft, e.clientY - canvas.value.offsetTop);
  ctx.value.stroke();

  ctx.value.beginPath();
  ctx.value.moveTo(e.clientX - canvas.value.offsetLeft, e.clientY - canvas.value.offsetTop);
};
These functions are responsible for handling the drawing functionality of the app. startPainting is triggered when the user presses the mouse button, setting painting to true. finishedPainting is called when the user releases the mouse button, setting painting to false. The draw function is called during mouse movement, and it handles the actual drawing on the canvas.
Now we will use onMounted to run code after the component is mounted:
onMounted(() => {
  canvas.value = document.getElementById("canvas");
  ctx.value = canvas.value.getContext("2d");

  // Set default stroke color
  ctx.value.strokeStyle = colors.value[0];

  // Resize canvas
  canvas.value.height = window.innerHeight * 0.6;
  canvas.value.width = window.innerWidth * 0.8;
});
The onMounted the function takes a callback that will be executed after the component is mounted. In our case, we initialize the canvas and ctx references, set the default stroke color, and resize the canvas.
Now, Return the exposed variables and methods:
return {
  message,
  painting,
  canvas,
  ctx,
  colors,
  changeColor,
  clearCanvas,
  startPainting,
  finishedPainting,
  draw,
  };
    },
  }).mount("#app");
In the setup function, we return an object containing the reactive variables and methods that will be exposed to the template and mounts the Vue app to the DOM element with the ID app.
Full code Our code in app.js file:
const { createApp, ref, onMounted } = Vue;

const app = createApp({
  setup() {
    const message = ref("Drawing App");
    const painting = ref(false);
    const canvas = ref(null);
    const ctx = ref(null);
    const colors = ref(["#000000", "#FF0000", "#00FF00", "#0000FF", "#FFFF00", "#FF00FF", "#00FFFF"]);

    const changeColor = (color) => {
        ctx.value.strokeStyle = color;
      };

      const clearCanvas = () => {
        ctx.value.clearRect(0, 0, canvas.value.width, canvas.value.height);
      };

      const startPainting = (e) => {
        painting.value = true;
        draw(e);
      };

      const finishedPainting = () => {
        painting.value = false;
        ctx.value.beginPath();
      };

      const draw = (e) => {
        if (!painting.value) return;

        ctx.value.lineWidth = 10;
        ctx.value.lineCap = "round";

        ctx.value.lineTo(e.clientX - canvas.value.offsetLeft, e.clientY - canvas.value.offsetTop);
        ctx.value.stroke();

        ctx.value.beginPath();
        ctx.value.moveTo(e.clientX - canvas.value.offsetLeft, e.clientY - canvas.value.offsetTop);
      };

      onMounted(() => {
        canvas.value = document.getElementById("canvas");
        ctx.value = canvas.value.getContext("2d");

        // Set default stroke color
        ctx.value.strokeStyle = colors.value[0];

        // Resize canvas
        canvas.value.height = window.innerHeight * 0.6;
        canvas.value.width = window.innerWidth * 0.8;
      });

      return {
        message,
        painting,
        canvas,
        ctx,
        colors,
        changeColor,
        clearCanvas,
        startPainting,
        finishedPainting,
        draw,
      };
    },
  }).mount("#app");
Now we want a situation when the mouse is down we set the value of the painting to true and when the mouse is up we then set the value of the painting to false. So we add event listeners to the canvas tag in the index.html file:
<canvas @mousedown="startPainting" @mouseup="finishedPainting" @mousemove="draw" id="canvas"></canvas>The <canvas> element is used for drawing graphics. It has event listeners for mousedown, mouseup, and mousemove events, which are connected to the startPainting, finishedPainting, and draw functions in app.js.
Next, Setup the Clear canvas button:
<a class="clear-button" @click.prevent="clearCanvas">Clear Canvas</a>The <a> element acts as a button to clear the canvas. The @click.prevent event listener calls the clearCanvas function from app.js and uses the prevent modifier to prevent the default behavior of the anchor tag.
Full code of Our code index.html file:
<!DOCTYPE html>
<html lang="en">
<head>
    <meta charset="UTF-8">
    <meta name="viewport" content="width=device-width, initial-scale=1.0">
    <title>Drawing App</title>
    <link rel="stylesheet" href="main.css">
</head>
<body>
    <div id="app">
        <h2>{{ message }}</h2>
        <div class="color-picker">
            <div v-for="color in colors" class="color-box" :style="{ backgroundColor: color }" @click="changeColor(color)"></div>
        </div>
        <canvas @mousedown="startPainting" @mouseup="finishedPainting" @mousemove="draw" id="canvas"></canvas>
        <a class="clear-button" @click.prevent="clearCanvas">Clear Canvas</a>
    </div>

    <script src="https://unpkg.com/vue@next"></script>
    <script src="app.js"></script>
</body>
</html>
In our main.css file lets add borders to the canvas and some modern styling to make our app look elegant
* {
    box-sizing: border-box;
  }

  body {
    font-family: 'Segoe UI', Tahoma, Geneva, Verdana, sans-serif;
    display: flex;
    justify-content: center;
    align-items: center;
    height: 100vh;
    margin: 0;
    background-color: #f0f0f0;
  }

  #app {
    width: 90%;
    max-width: 1200px;
    background-color: #fff;
    padding: 2rem;
    border-radius: 1rem;
    box-shadow: 0 4px 6px rgba(0, 0, 0, 0.1);
  }

  h2 {
    text-align: center;
    margin-bottom: 1rem;
  }

  canvas {
    display: block;
    background-color: #ffffff;
    border: 2px solid #333;
    border-radius: 5px;
    cursor: crosshair;
  }

  .color-box {
    display: inline-block;
    width: 20px;
    height: 20px;
    margin: 0 5px;
    cursor: pointer;
    border-radius: 50%;
  }

  .color-picker {
    display: flex;
    justify-content: center;
    margin-bottom: 1rem;
  }

  .clear-button {
    display: block;
    margin: 1rem auto;
    padding: 0.5rem 1rem;
    background-color: #333;
    color: #fff;
    text-align: center;
    border-radius: 5px;
    cursor: pointer;
    text-decoration: none;
    font-weight: bold;
  }

  .clear-button:hover {
    background-color: #444;
  }
And that’s it. We just used the canvas API to build a simple painting app using Vue 3.
Conclusion
In this tutorial, we showed how easy it is to create a drawing app using the Canvas API and Vue. We also learned how to work with mouse event listeners in Vue.
This example can be a starting point for creating more advanced apps or adding new features like changing pen colors and canvas backgrounds. The source code is available here.