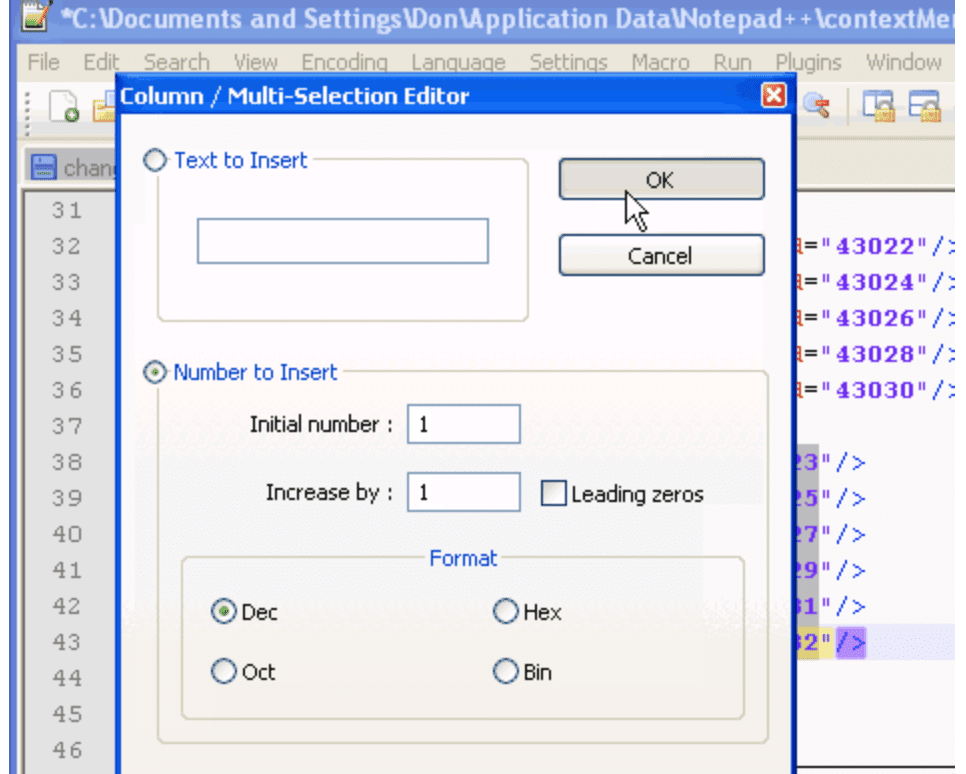
Do you spend a lot of time editing text files in Notepad++? If so, you should be using column mode! Column mode makes it easy to edit multiple lines of text at the same time. In this blog post, we will show you how to use column mode like a pro!
Notepad++ column mode is extremely useful when you need to make the same change to multiple lines of text. For example, let’s say you have a list of names in a text file and you need to add a middle initial to each name. In column mode, you can simply add the middle initial to the first name, and then all of the other names will be updated automatically.
Column mode is also useful for editing tabular data. For example, let’s say you have a CSV file that you need to edit. In column mode, you can easily add or delete columns of data.
To enter column mode in Notepad++, simply press the Alt + C keys on your keyboard. You can also click the “Column Mode” button in the toolbar. Once you’re in column mode, you can use the arrow keys on your keyboard to move around.

If you need to select multiple lines of text in column mode, you can hold down the Shift key and use the arrow keys to select the text. You can also hold down the Alt key and click to select specific columns of text.
Once you have your text selected, you can start editing it just like you would in regular mode. Simply make your changes and they will be applied to all of the lines of text that you have selected.
When you’re finished editing in column mode, you can press the Esc key to exit column mode. You can also click the “Column Mode” button in the toolbar to toggle back to regular mode.
So there you have it! Now you know how to use column mode in Notepad++ like a pro. Give it a try the next time you need to edit multiple lines of text or tabular data. You’ll be glad you did!


